
Pathfinder 8-Way Sensor (LineSensor8)
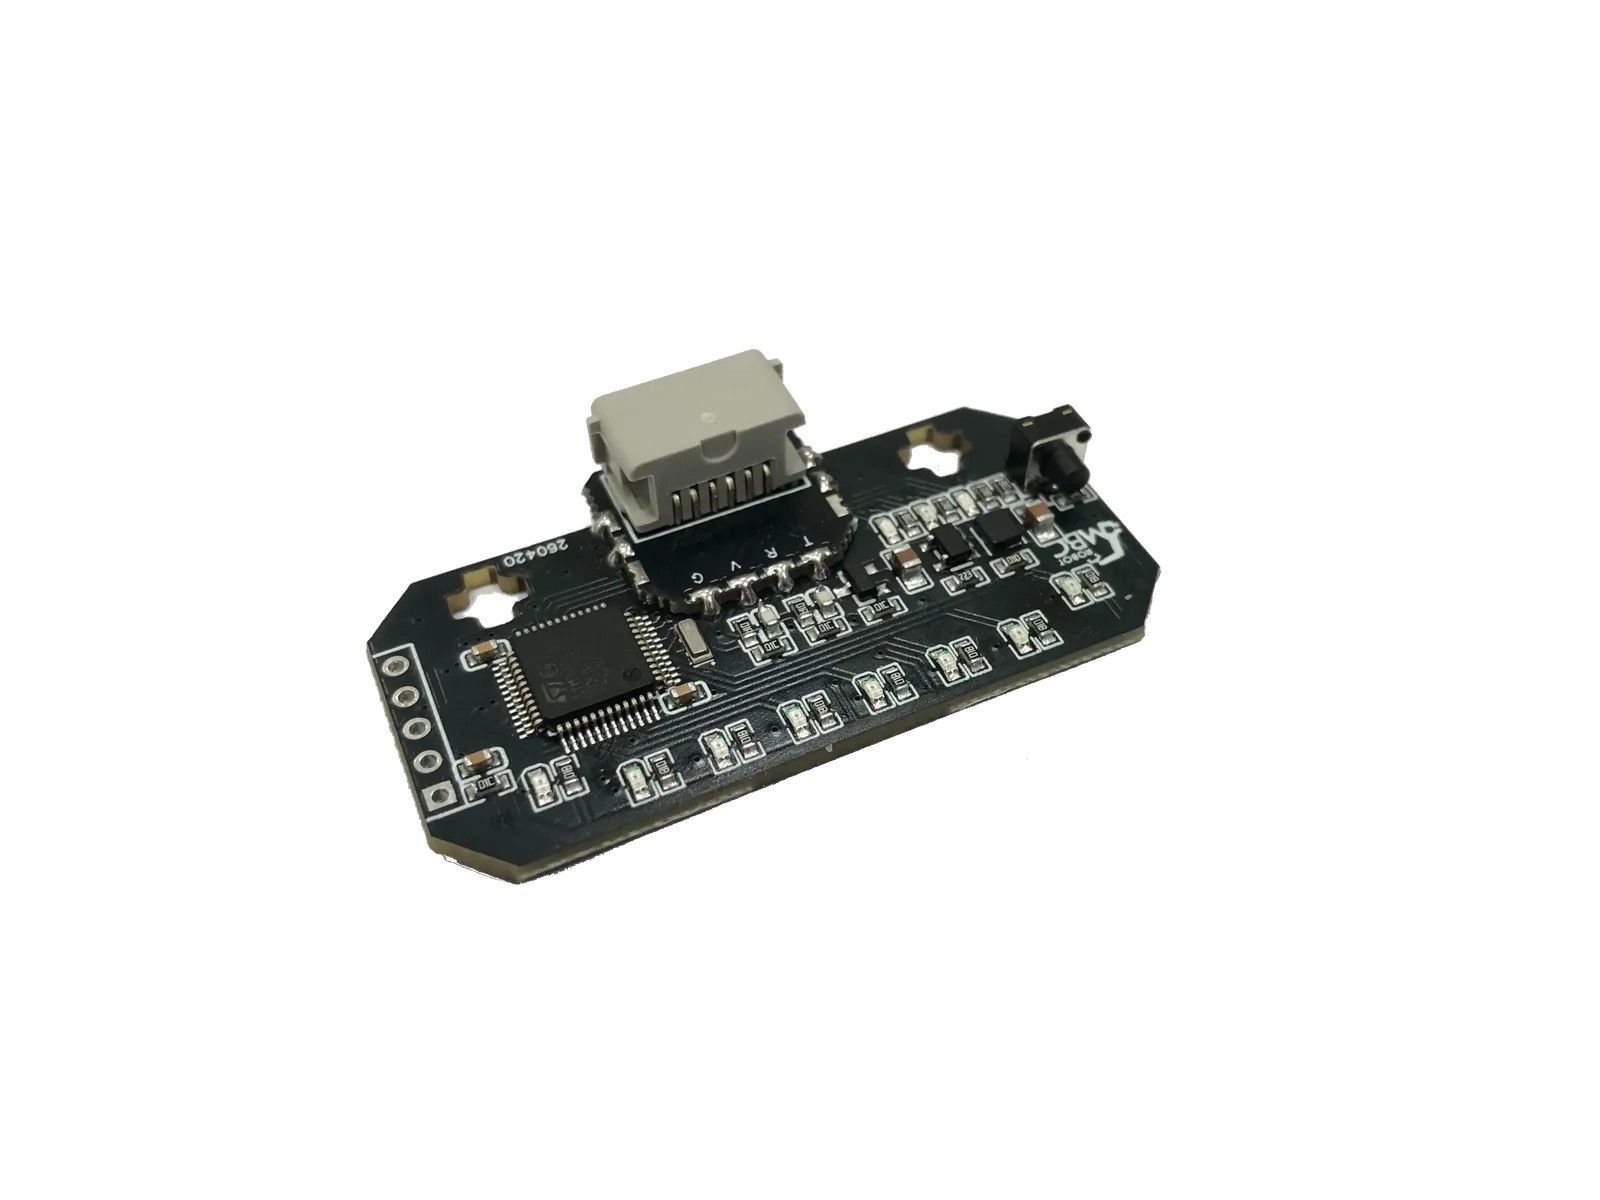
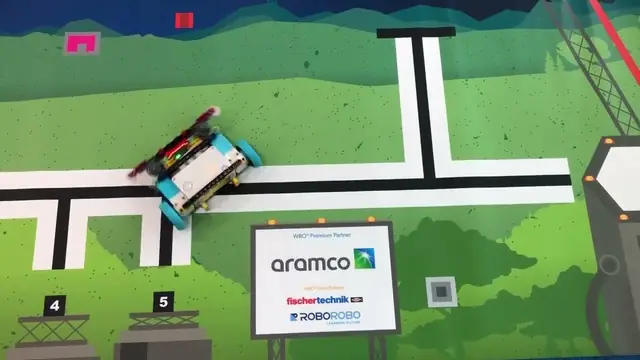
Built for busy WRO maps: 8 channels see exactly where the line is, output a high-resolution position ready for PID, and calibrate with one button.
MSRP US$100 (shipping not included)
| Editions | SPIKE, EV3, Universal I2C |
|---|---|
| Power | Powered by the controller, no battery needed |
| Warranty | 6 months |
WRO RoboMission: allowed in all age groups
WRO rules check · Other competitions · Where to buy
① Pick your host
Only hosts this product supports are listed; pick one, then your software, and the page covers just that software.
 SPIKELEGO SPIKE Prime (yellow hub) and Robot Inventor (teal hub)Official LEGO App · MBC Blocks website · Pybricks
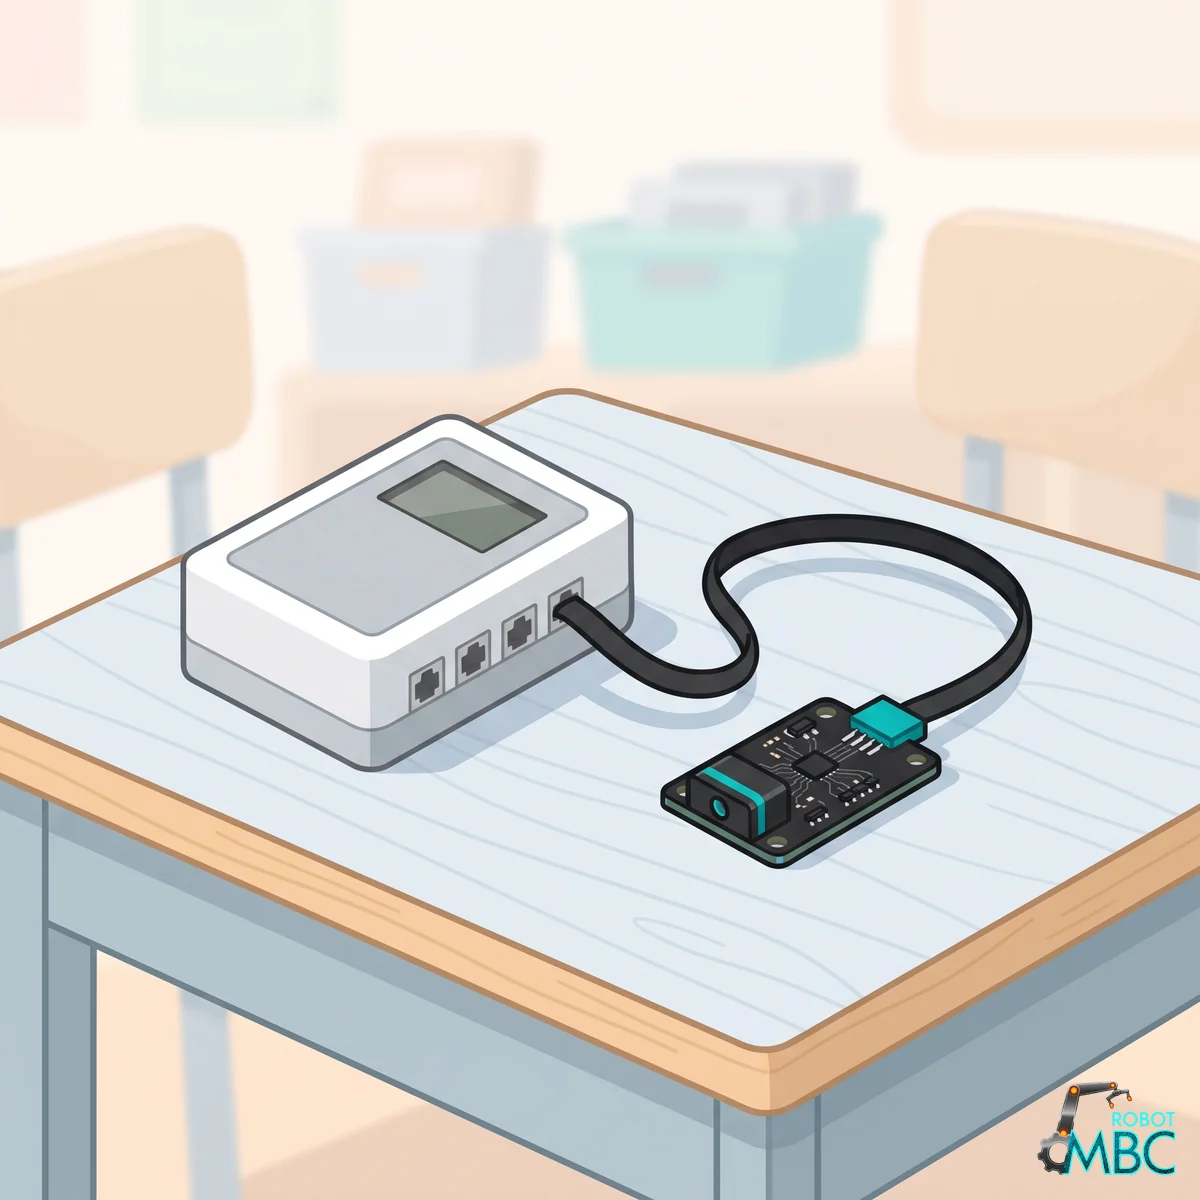 EV3LEGO MINDSTORMS EV3 brick (RJ12 plug)EV3-G · EV3 Classroom · Pybricks · clev3r
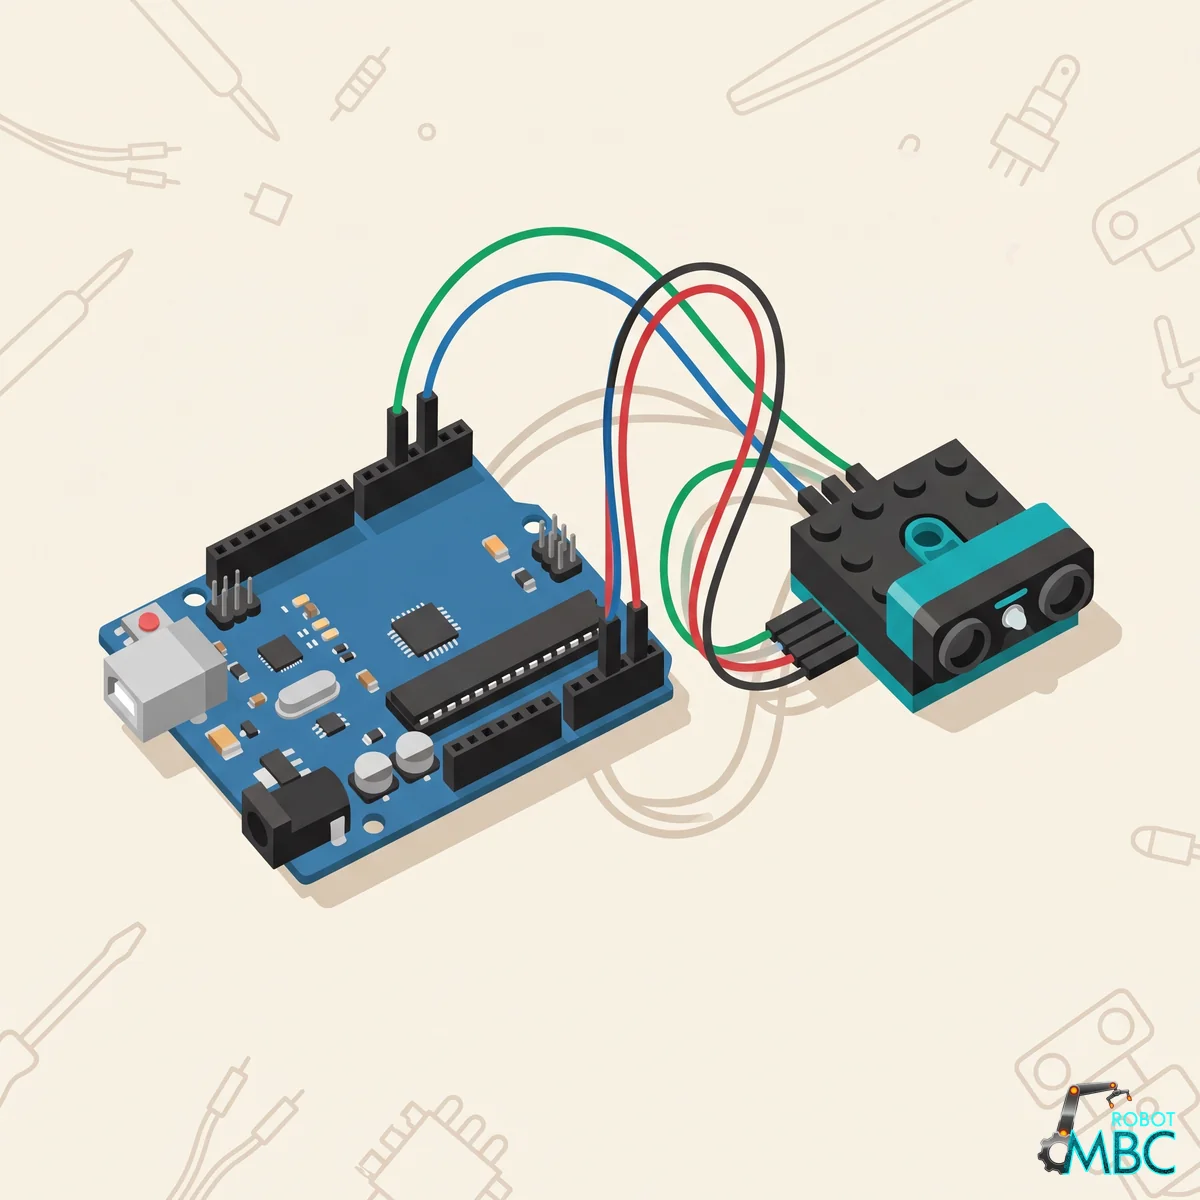 ArduinoArduino UNO, Nano, UNO R4, ESP32 over I2CArduino IDE
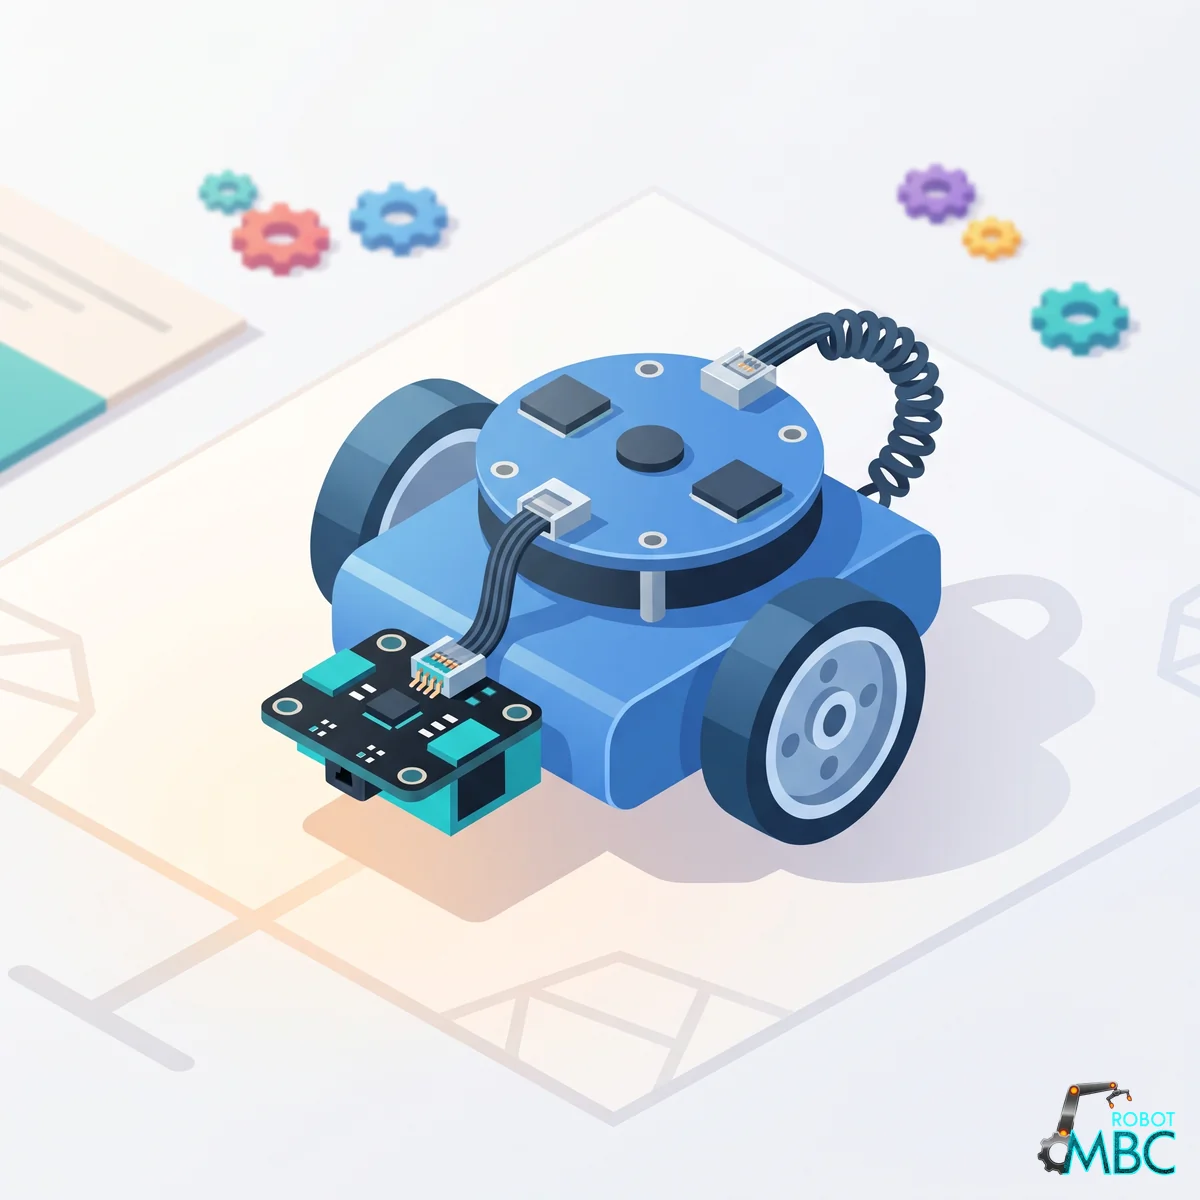 mBlockmBot, Ranger, Orion, MegaPi with mBlock 5 blocksmBlock 5
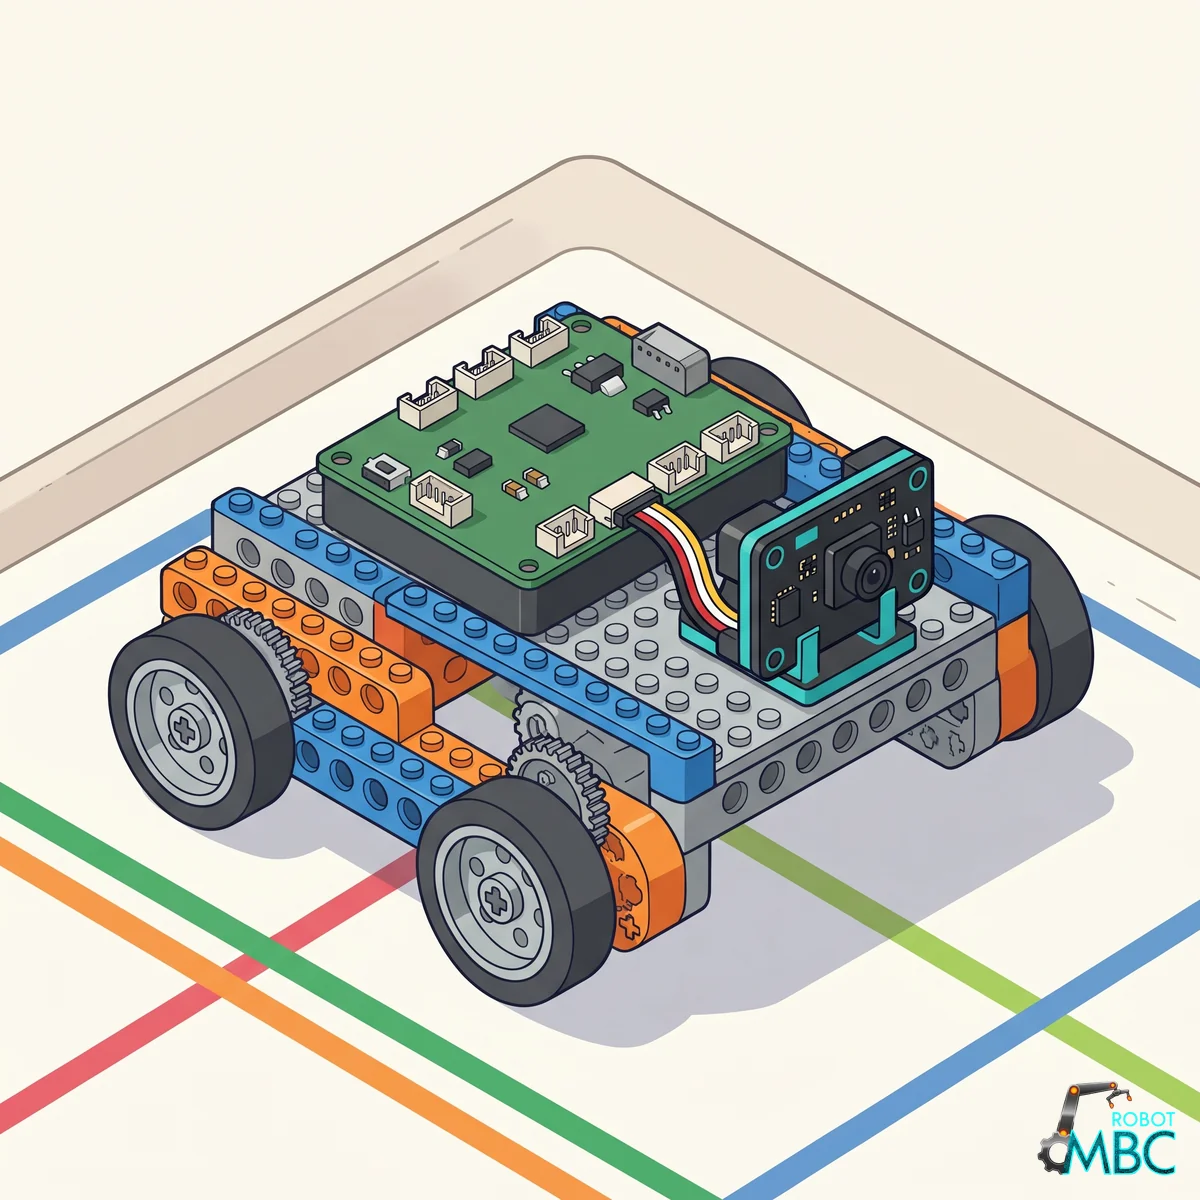 MATRIXMATRIX Mini R4 controller with MATRIXblockMATRIXblock stock blocks
 micro:bitmicro:bit V1 / V2 with MakeCode blocksMakeCode
Interactive tutorial
No hub needed: click through it in your browser. Pick a function on the left, watch the code or blocks build up on the right, and drag the simulated sensor to see the values.
SPIKEMicroPython (Pybricks)Pybricks blocksPybricks built-in blocks (no library)MBC Blocks websiteLEGO SPIKE AppLEGO SPIKE App Python
EV3Pybricks / EV3 MicroPythonclev3rEV3 ClassroomEV3-G (LEGO software)
ArduinoArduino IDE
mBlockmBlock 5
MATRIXMATRIXblock
micro:bitMakeCode
Note
Editions: choose the one that matches your controller Each edition's connector and protocol are optimized for its controller, so editions are not interchangeable:
- SPIKE Edition: Uses LPF2 (Lego 6-pin) flat socket. Compatible ONLY with SPIKE Prime and Robot Inventor hubs (SPIKE Essential is not supported).
- EV3 Edition: Uses RJ12 (Lego specific 6-pin) socket. Compatible ONLY with EV3 hubs.
- ∿ Universal I2C Edition: Uses standard pin headers/XH2.54 ports. Designed for Arduino, ESP32, Raspberry Pi, etc.
- MakeBlock Edition: Connects to an RJ25 port through the mBot socket board. For mBot, mBot Ranger and other Makeblock boards (mBlock 5 blocks).
Please select the hardware version corresponding to your hub system. The physical connectors differ completely.
Product Overview & Hardware Advantages
International competition maps like WRO often feature colorful patterns near the black line. Traditional line followers easily misjudge these, causing the robot to "follow the pattern" and lose control. The MBC 8-Way Line Sensor is specifically optimized for this pain point. Equipped with highly advanced anti-interference algorithms, it accurately locks onto the black line and ignores all surrounding visual distractions on the most complex tracks!
- Competition-Grade Core: Onboard smart processing chip designed for high-frequency control, completing 8-channel noise filtering and position solving in milliseconds.
- Zero-Latency Sampling: Hardware-level parallel data channels. Signals from 8 paths are sampled independently and at high speed in the background without occupying hub bandwidth.
- WRO First Choice Layout: Precisely arranged 8 sets of anti-interference infrared arrays (viewed from behind the robot: channels 1 to 8 from left to right), ignoring flashy patterns beside the track.
Hardware Wiring
Just like connecting a LEGO sensor! Use a standard connection cable and plug it directly into the SPIKE or EV3 hub.
- Find the Port: The port on the sensor is on the side, just like official LEGO sensors.
- Use the Cable: Use the included standard cable (or original LEGO cable).
- Plug into Hub: SPIKE can use any Port A to F. EV3 uses Port 1 to 4.
- Check Indicator: After powering on, the green heartbeat indicator (near the socket) will start flashing.
Calibration Guide
Every surface reflects light differently. Calibration teaches the sensor "this brightness is white, and that brightness is black".
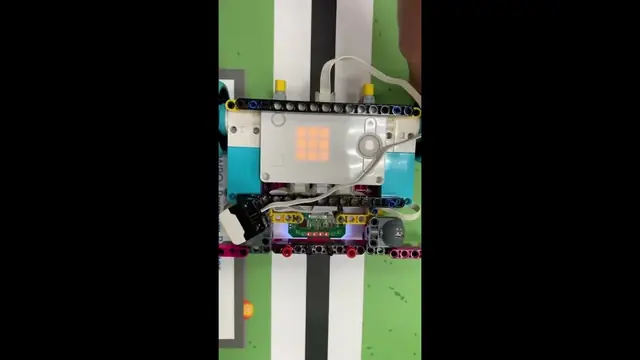
Official One-Click Calibration Video
Watch the demonstration video below for the most intuitive guide:
Calibration Steps (Super Simple!)
- Press Calibration Button: Hold the calibration button on the sensor for 0.5 seconds until the 🟢 green calibration indicator remains steadily lit.
- Start Scanning: Move the sensor back and forth across the black line and white areas of your track.
- Maintain Height: Keep the sensor between 3 ~ 12 mm above the ground.
- Complete: After 5 seconds, the green calibration indicator turns off. Calibration is complete and saved automatically!
Core Data Features & Algorithms
To achieve competition-level smoothness and stability, the onboard hardware processes all 8 raw reflection signals in the background with real-time calibration, binarization, and continuity filtering, producing four core data features:
Absolute Physical Light Value (0 ~ 100)
Reflects the truest physical reflection intensity. 100 = pure white (high reflectance), 0 = pure black (no reflectance). This value remains physically accurate and does not invert when switching between black/white line modes. Ideal for building real-time bar graph visualization dashboards.
Sub-Pixel High-Resolution Smooth Position (0 ~ 200)
Uses high-precision geometric interpolation of adjacent sensor reflection intensities to output a super-smooth continuous position from 0 ~ 200 (100 = dead center). Designed specifically for advanced PID control algorithms to completely eliminate micro-jitter.
Feature Line Width & Binarized Map
Reports the number of currently triggered sensors (line width — useful for detecting intersections, T-junctions, and right angles), as well as the binarized trigger state of all 8 sensors for fine trajectory reconstruction.
Advanced Anti-Interference Filter
Designed for complex WRO maps. The system continuously filters out non-contiguous noise blocks and force-locks onto the main track black line, dramatically reducing the risk of losing the track due to surrounding pattern interference.
Hardware Indicator LEDs & Button
To ensure excellent visual readability across all theme backgrounds, the sensor features a high-contrast, color-coded status dashboard. Note: The heartbeat LED and the calibration LED are two physically separate, independent indicators!
Red LED steady-on: Indicates communication failure with the hub. Check that the cable is firmly connected, or try a different hub port / replacement cable.
General Tips
One-Click Auto Sweep Calibration
To get the best comparison gain from all 8 photoelectric sensors, this product provides a simple and efficient auto-calibration system:
- Trigger: Hold the 🔘 Calibration Button for 0.5 seconds until the 🟢 Green Calibration LED (near the calibration button) stays steadily lit.
- Procedure: Within the 5-second window while the green LED is on, sweep the robot's front across the black line and white ground area (make sure all sensors cross both the black line and the white surface).
- Completion: After 5 seconds, the 🟢 Green Calibration LED turns off — calibration is complete, and the data is automatically saved to non-volatile memory asynchronously.
Switch Between Black Line and White Line Tracking
While the sensor is powered on, hold the calibration button and then release to toggle the tracking mode: Default is Black Line Mode (tracking dark lines). After switching, it becomes White Line Mode (tracking light lines).
Position and Width Follow the White Line Automatically: In white-line mode, the line position (including the high-precision position) and line width automatically track the white line, so your program logic (e.g., a PID line-following algorithm) works without changes. Individual channel light values are NOT inverted (white is still 100, black is still 0) — if your program checks single-channel values directly, flip the threshold yourself. This setting persists until the next power cycle. After a power cycle, the sensor resets to the default black-line tracking mode.
Frequently Asked Questions (FAQ)
Sensor plugged in but no response? → First check whether the 🟢 Green Heartbeat LED (near the socket) is blinking. If there is no blinking at all, follow these steps in order:
- Check that both ends of the connection cable are firmly plugged in.
- Try a different port on the hub.
- Swap to a different cable for cross-testing.
- Test the sensor on a different hub to rule out a faulty port on your original hub.
Robot wobbles while following the line? → The most common cause: not yet calibrated, or calibration did not succeed. Return to the calibration steps and recalibrate. If already calibrated but still wobbling, check:
- Is the sensor height between 3 and 12 mm above the ground?
Why did the robot follow a flashy pattern on the side? → The 8-Way has a very strong anti-interference filter, but it still requires a correct calibration baseline. Make sure calibration covered both "the darkest black line" and "the whitest white area". Check that lighting is even and that sensor height is 3 to 12 mm.
Different apps return different values? → The Education Edition (yellow hub) and Home Edition (teal hub) return data in different formats. Confirm which version you are using and refer to the corresponding platform documentation page.
Red LED is staying on — what do I do? → 🔴 Red LED steady-on means communication with the hub has failed. Check the cable connection, try a different port, or swap the cable. If the red LED remains on after changing ports, cables, and hubs, please contact our technical support.
Dedicated Online Support
If you've tried all the above steps and still can't resolve the issue, please contact us anytime! To help our engineers pinpoint the problem as quickly as possible, please prepare the following:
- Video/Photo: Record a short clip of your robot running or the sensor indicator LED status (so we can visually verify the signal lights and physical operation).
- Program: Provide a screenshot of your block program, project file (.lms / .ev3), or source code.
- Contact Us: Send the above to our technical support email, or directly message us via the official LINE support.
Our professional R&D engineers will respond immediately to assist with online diagnosis and program tuning — fully committed to powering your success in every competition!
Interested in this sensor?
Ask us for pricing, bulk / school orders or distributor info. Our engineers reply within 3 business days.