
Ranger 2-Way Laser Ranging (TOF2)
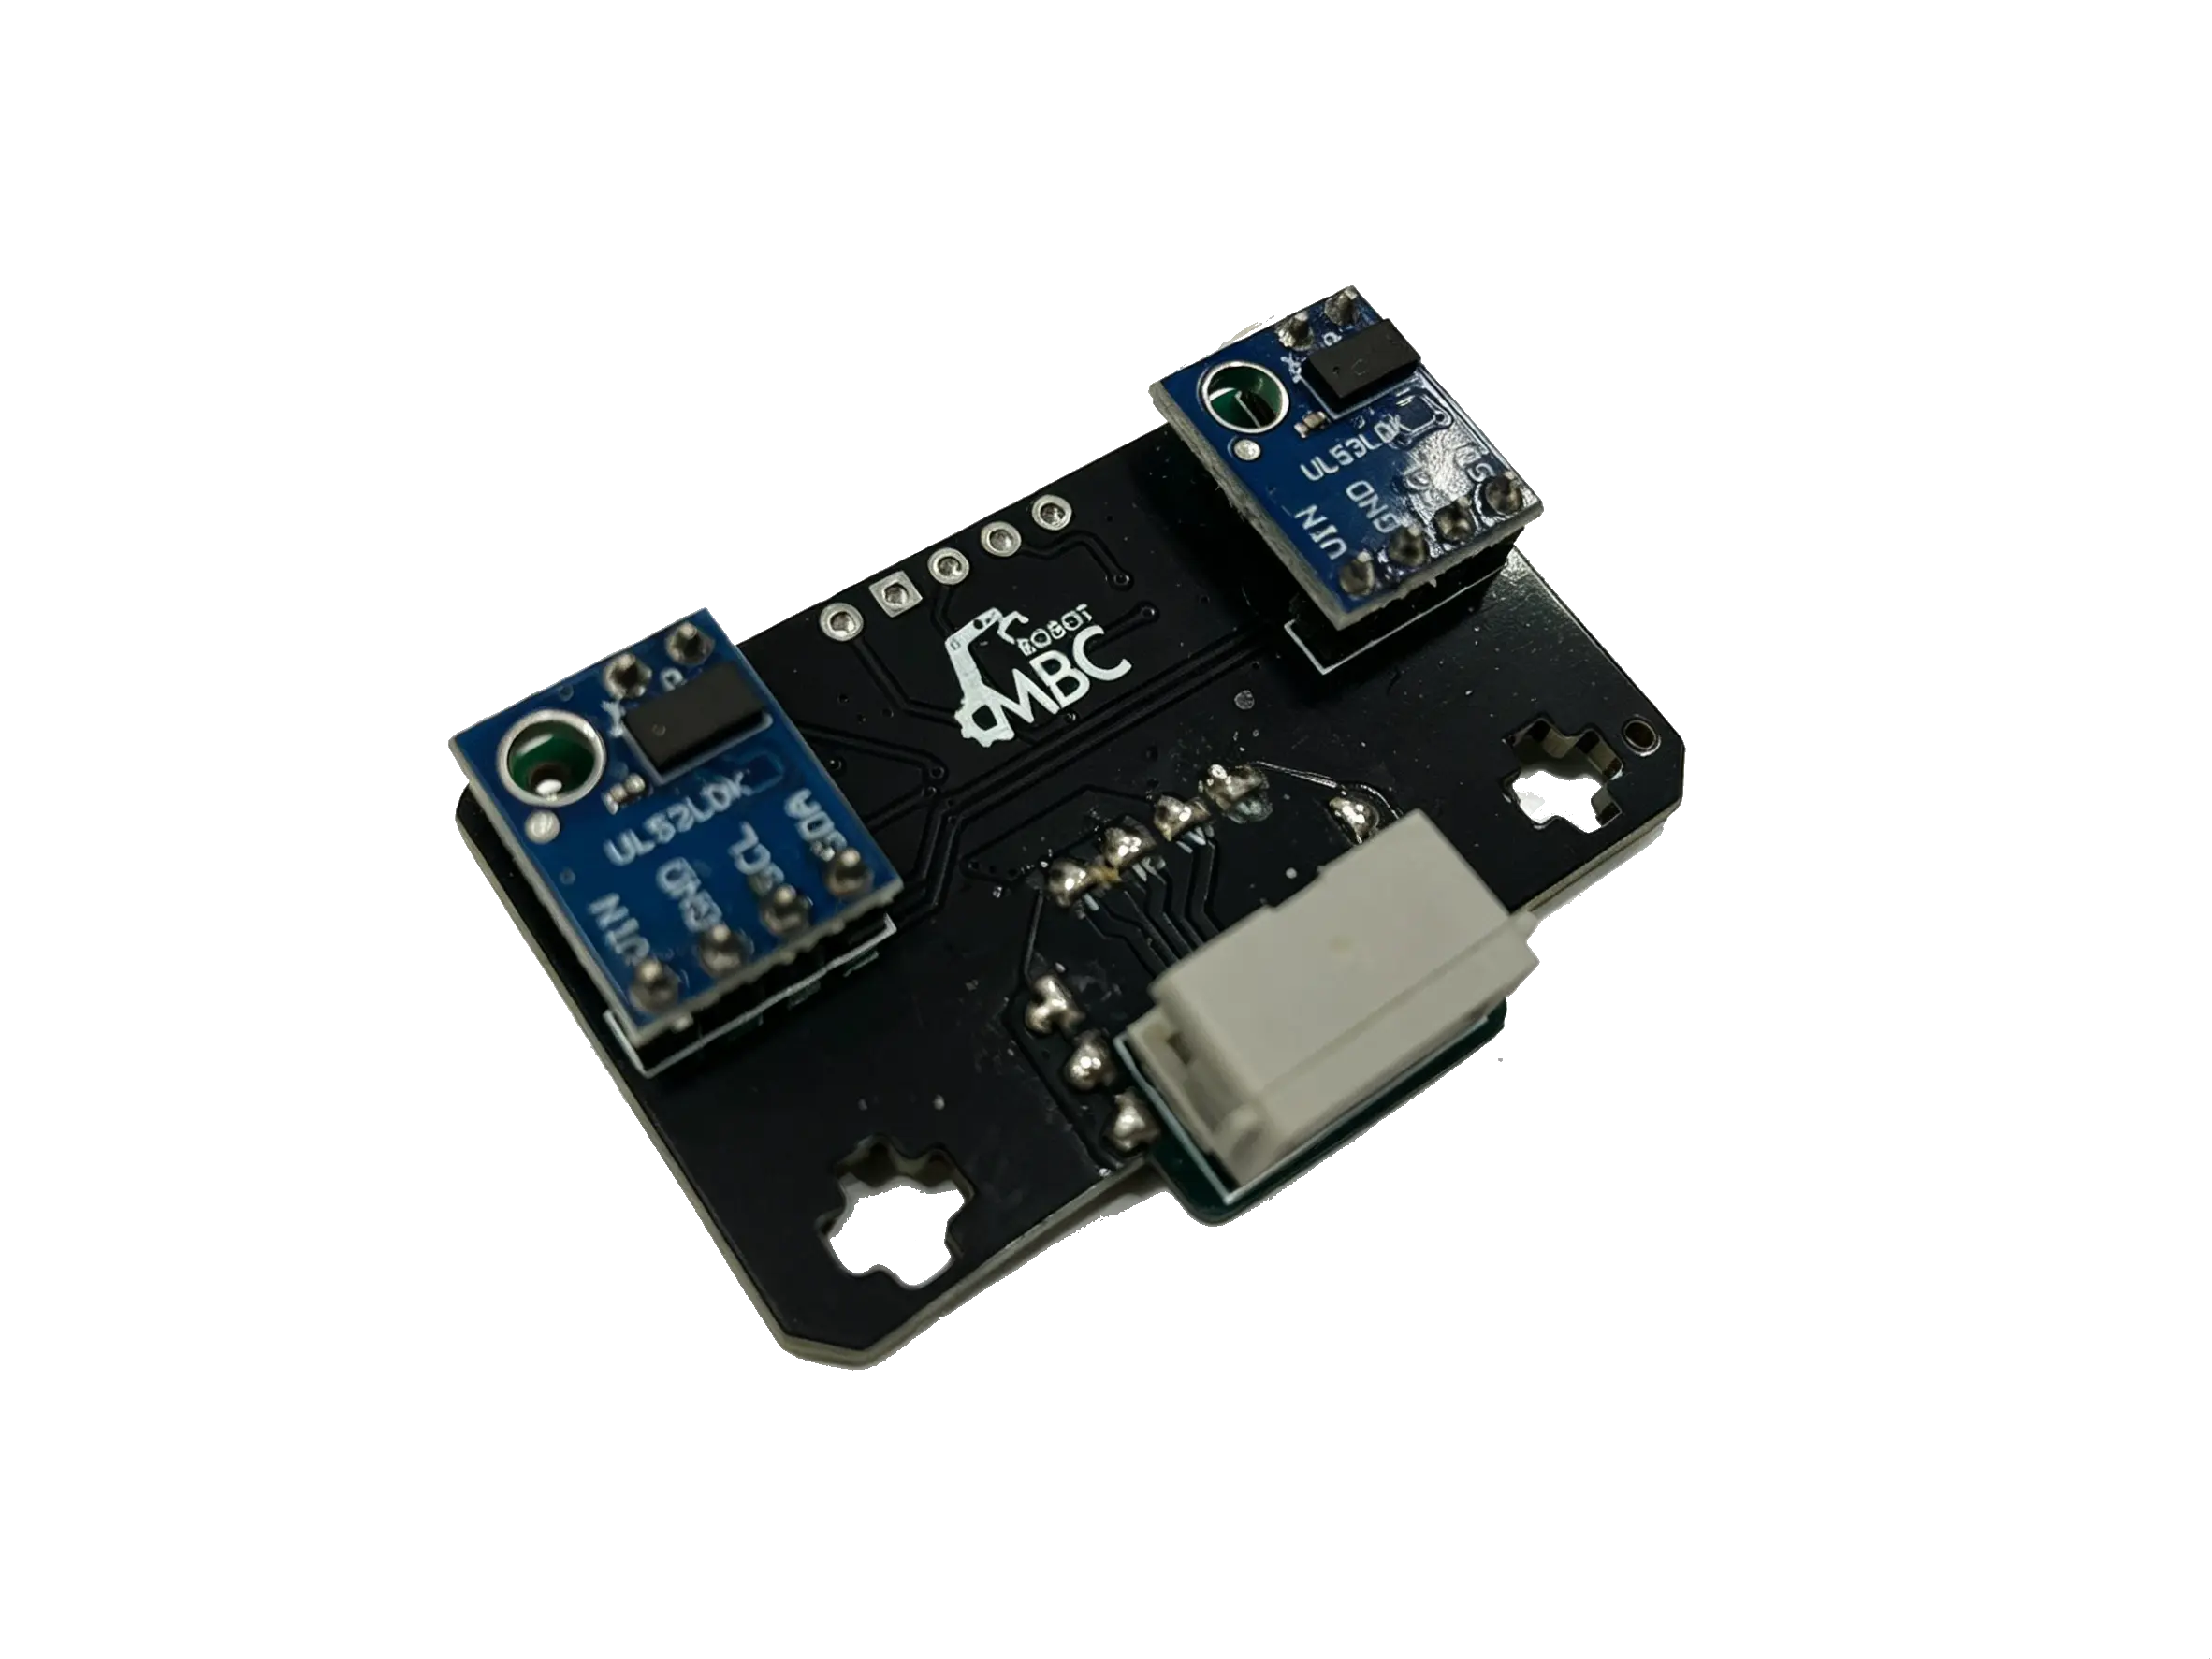
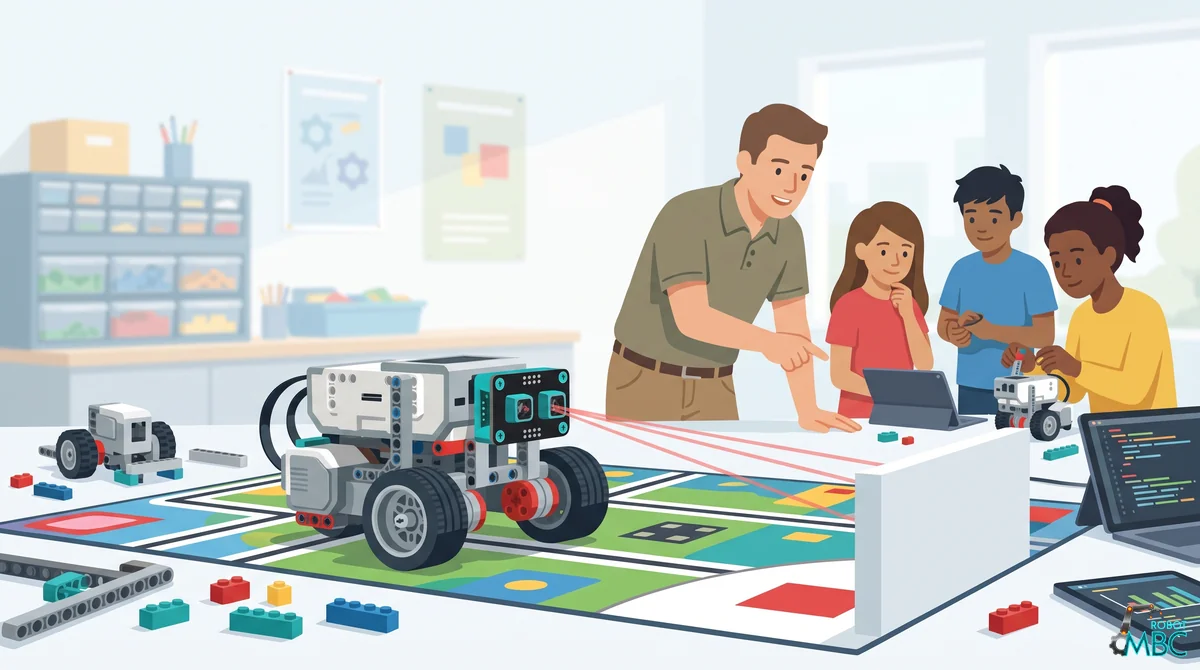
Faster and smaller than ultrasonic: two laser points measure left and right at once, so you know which side an object left from.
MSRP US$60 (shipping not included)
| Editions | SPIKE, EV3, MakeBlock |
|---|---|
| Power | Powered by the controller, no battery needed |
| Laser class | Class 1 (IEC 60825-1:2014), eye-safety statement available on request |
| Warranty | 6 months |
WRO RoboMission: allowed in all age groups (Class 1 eye-safe laser)
WRO rules check · Other competitions · Where to buy
① Pick your host
Only hosts this product supports are listed; pick one, then your software, and the page covers just that software.
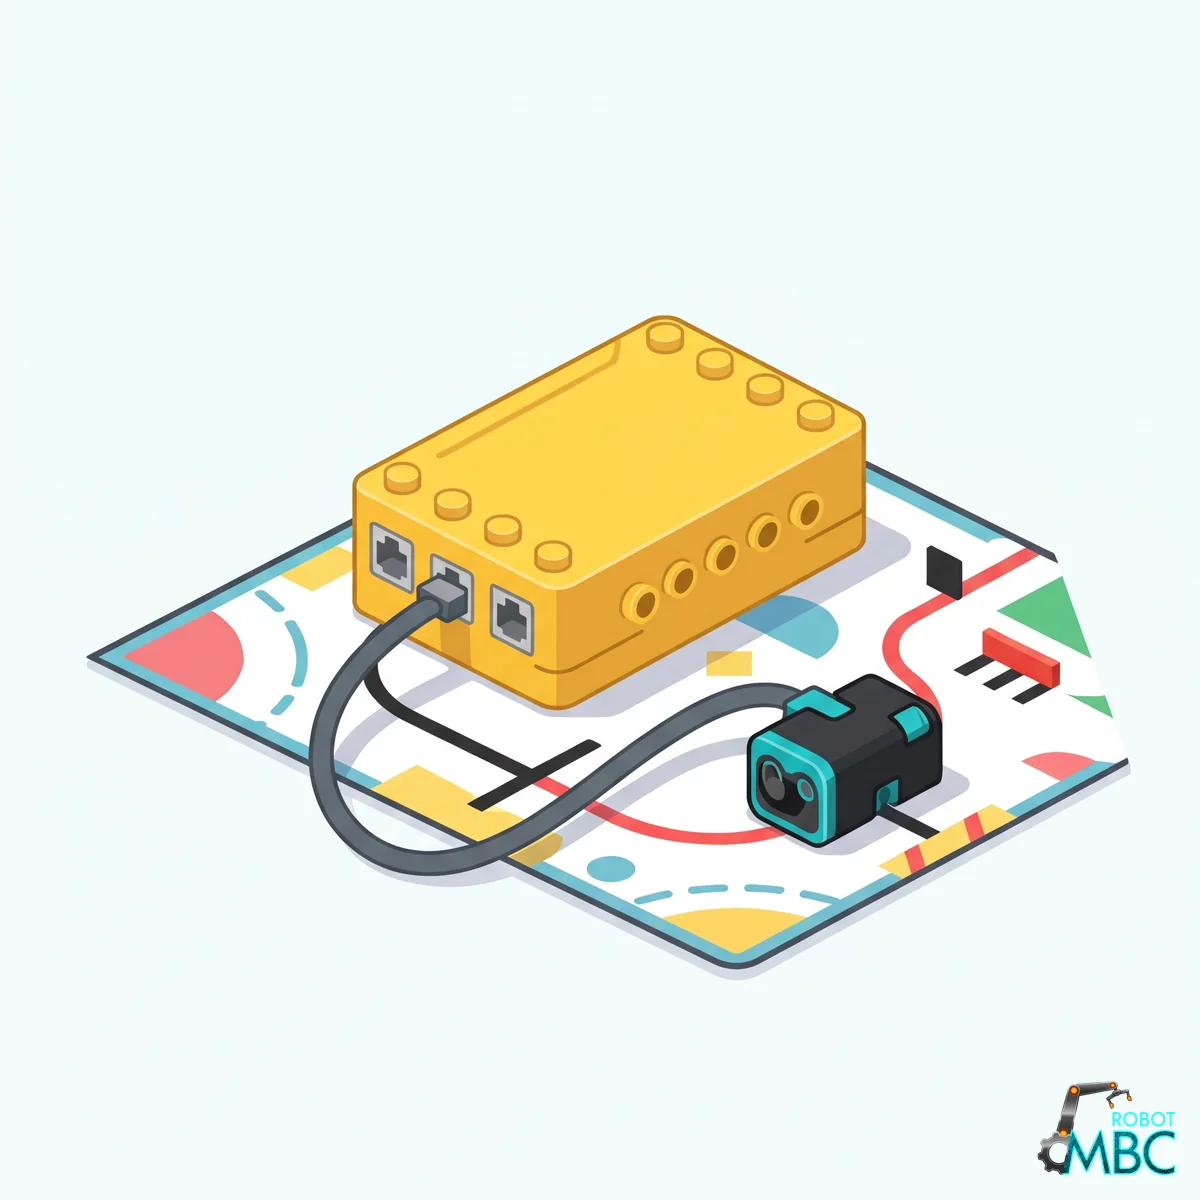 SPIKELEGO SPIKE Prime (yellow hub) and Robot Inventor (teal hub)Official LEGO App · MBC Blocks website · Pybricks
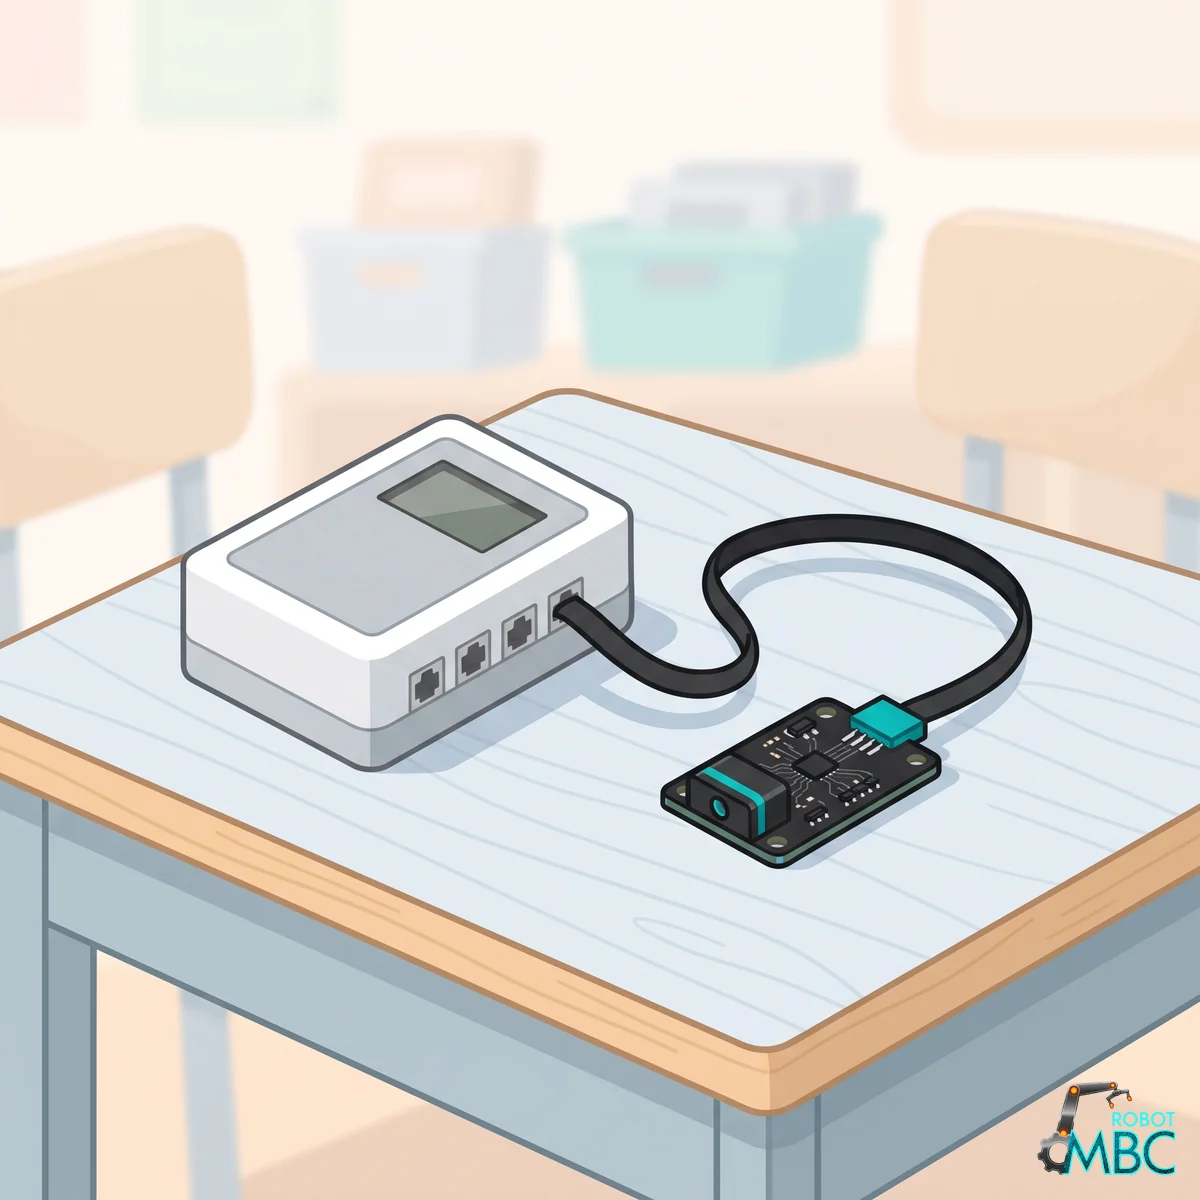 EV3LEGO MINDSTORMS EV3 brick (RJ12 plug)EV3-G · EV3 Classroom · Pybricks · clev3r
 ArduinoArduino UNO, Nano, UNO R4, ESP32 over I2CArduino IDE
 mBlockmBot, Ranger, Orion, MegaPi with mBlock 5 blocksmBlock 5
 MATRIXMATRIX Mini R4 controller with MATRIXblockMATRIXblock stock blocks
 micro:bitmicro:bit V1 / V2 with MakeCode blocksMakeCode
Interactive tutorial
No hub needed: click through it in your browser. Pick a function on the left, watch the code or blocks build up on the right, and drag the simulated sensor to see the values.
SPIKEMicroPython (Pybricks)Pybricks blocksPybricks built-in blocks (no library)MBC Blocks websiteLEGO SPIKE AppLEGO SPIKE App Python
EV3Pybricks / EV3 MicroPythonclev3rEV3 ClassroomEV3-G (LEGO software)
ArduinoArduino IDE
mBlockmBlock 5
MATRIXMATRIXblock
micro:bitMakeCode
Lightweight and agile: say goodbye to bulky ultrasonics. A micro-laser that accurately captures which way an object leaves.
Product Overview
Traditional ultrasonic sensors are not only bulky, they also react slowly and are easily fooled by echoes (ghost readings). In high-speed robot applications they simply cannot keep up.
The Ranger 2-Way uses laser time-of-flight (ToF): it measures at the speed of light, so it reacts far faster than ultrasonics. The module is tiny and fits almost anywhere on a robot. Best of all, its two laser beams let the robot tell whether an object left to the left or to the right — something a single ultrasonic sensor can never do.
Core Advantages
- Laser-speed reaction: not limited by the speed of sound, detection is far faster than ultrasonics
- Direction judgment: the dual-beam layout tells which side the object finally left the sensing range from
- Extremely compact: much smaller than an ultrasonic sensor, saving precious mounting space
- Plug and play: plug straight into SPIKE / EV3; no extra power supply or setup
- 🔼 Seamless upgrade path: shares the dual 0° layout with the TOF8, so you can upgrade to the TOF8 later without rewriting your core logic
Which Model Do I Need?
| Scenario | Recommended model |
|---|---|
| Simple collision avoidance, distance detection, left / right judgment | ✅ TOF2 (this model) |
| Sumo battles, full 180° obstacle avoidance | ➡️ TOF8 (8-way full view) |
Specifications
| Item | Spec |
|---|---|
| Sensing elements | 2 laser time-of-flight (ToF) ranging units (one left, one right) |
| Range | 0 ~ 1200 mm (a reading of 120 cm = no target on that side) |
| Fault detection | Detects init failures, bus errors and timeouts per sensor |
Supported Platforms
| Platform | How |
|---|---|
| LEGO SPIKE Prime / Robot Inventor | Official app, Pybricks (👉 SPIKE beginner examples: official app / MBC blocks site / Pybricks, 5 each — in Chinese); tested on Pybricks 4.1.2 (2026-11-02) |
| LEGO SPIKE Essential | Not supported |
| LEGO MINDSTORMS EV3 | EV3 official software, Pybricks (EV3 beginner examples); EV3-G / EV3 Classroom / clev3r: tested on the stock EV3 firmware (2026-11-02); Pybricks v4: tested (2026-11-02); ev3dev / EV3 MicroPython v2: supported (same mode table as the stock firmware) |
| MakeBlock (mBot etc.) | Dedicated edition, blocks & wiring |
| Arduino / ESP32 (Universal I2C edition, coming soon) | Address 0x29, Arduino Examples |
Important
Each platform is a different factory edition; please order the one that matches your controller.
Example Downloads
| Hub | Files |
|---|---|
| SPIKE (Pybricks 4.1) | Download all (.zip) · No library (blocks) · Library example (blocks) · Library MBC_laser2_obj_Lib.py · Shared library MBC_sensors.py (for new projects) |
| SPIKE (Pybricks 3.6.1, no longer updated) | Old files are under "Legacy (no longer updated)" on the Downloads page |
| EV3 | EV3 beginner examples |
| Arduino (Universal I2C edition) | Arduino Examples |
| mBot etc. (MakeBlock) | Block extension and examples |
Import the library file into the same Pybricks project without renaming it.
Output Data
| Platform | What you read |
|---|---|
SPIKE (Pybricks PUPDevice(Port.X).read(3)) |
1st value = left distance, 2nd value = right distance (cm, 0 ~ 120) |
| EV3 mode 0 | Average of left and right (0 ~ 100: 1 unit = 1.2 cm, 100 = no target) |
| EV3 mode 1 | Left distance, right distance (0 ~ 100 each, same scale; EV3 blocks: Beacon channel 1 Heading = left, Proximity = right) |
Hardware Wiring
- Plug into SPIKE (Port A
F) or EV3 (Port 14) with a standard connection cable, pushing the plug all the way in. - After powering on, check that the sensor indicator LED is lit — you are ready to go.
- Mount the sensor at the front of the robot with the lasers facing forward. Left and right are as seen from behind the sensor, looking the way it faces (left = J5, right = J3); facing the sensor, they are the other way round.
How Direction Judgment Works
The two laser points sit side by side (left and right as seen from behind the sensor, looking the way it faces: left = J5, right = J3). When an object leaves the sensing range:
- Left laser loses the signal first → the object left to the right
- Right laser loses the signal first → the object left to the left
This lets your robot decide "which way to turn after the target disappears".
FAQ
- Reading 120 cm? → Nothing is within range on that side — this is normal (EV3 reads 100).
- Left and right read slightly differently against a flat wall? → Tiny angle differences between the two beams cause small deviations; use the average (EV3 mode 0 already does) when you only need "how far".
- One side never reports? → Check the init / fault bitmaps (I2C edition) or swap the cable and port, then contact us for service.
Interested in this sensor?
Ask us for pricing, bulk / school orders or distributor info. Our engineers reply within 3 business days.