
Ranger 8-Way Laser Ranging (TOF8)
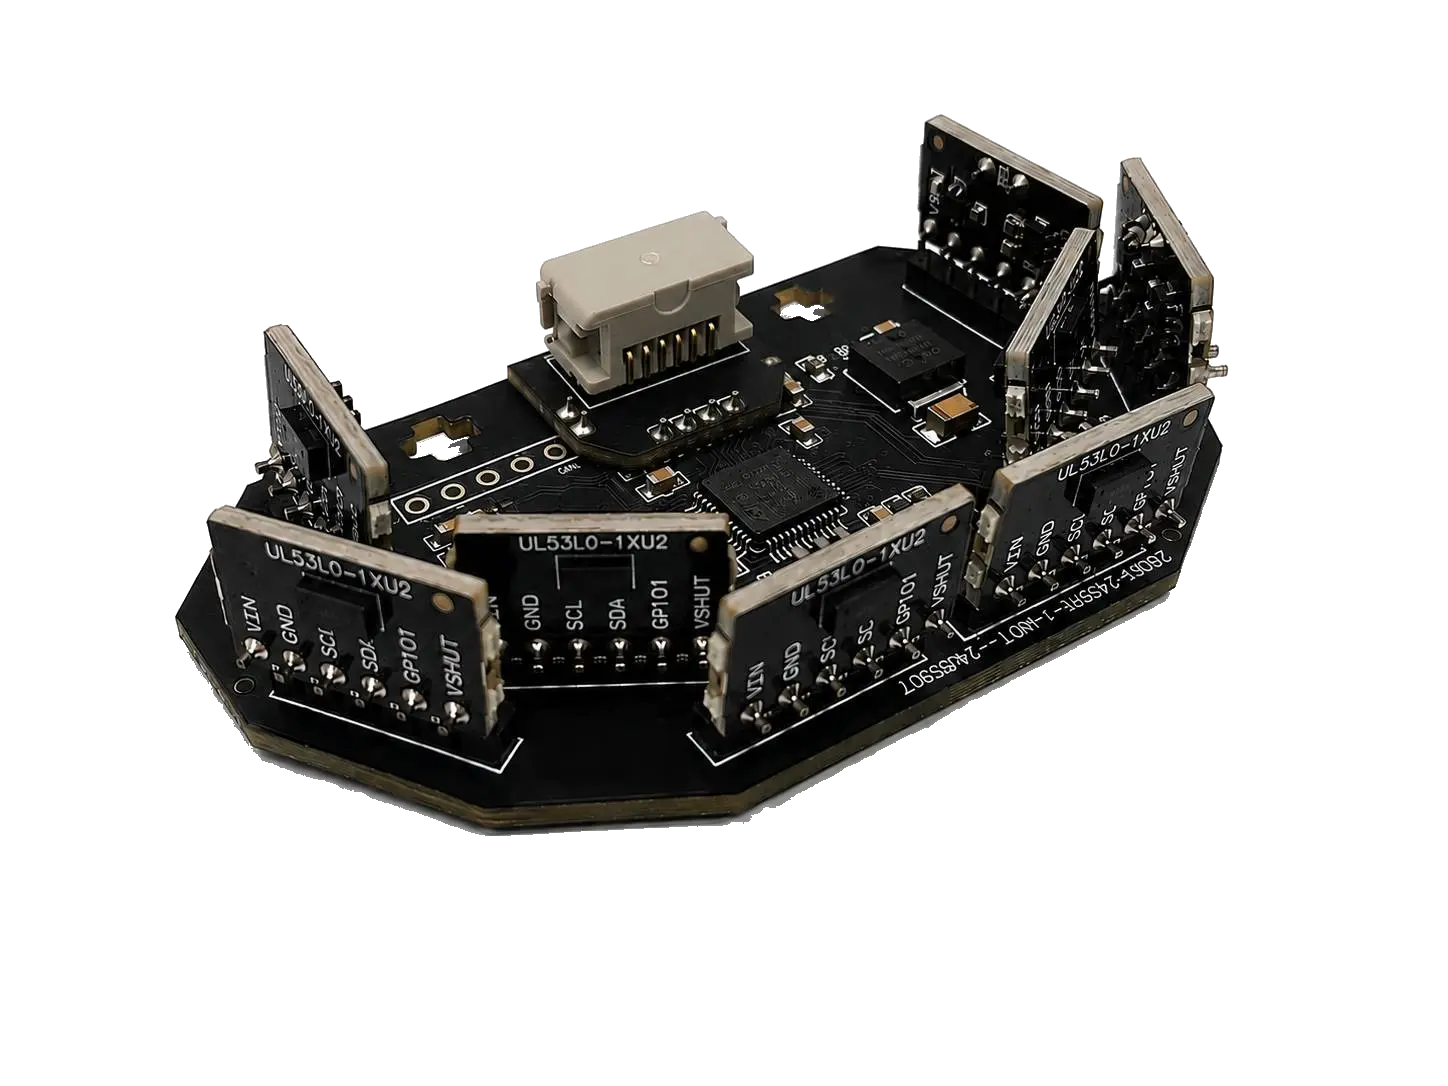
8 laser points cover 180° in front: it tells you which direction the nearest target is and how far — no more ultrasonic ghosts in sumo and obstacle avoidance.
MSRP US$120 (shipping not included)
| Editions | SPIKE, EV3, Universal I2C |
|---|---|
| Power | Powered by the controller, no battery needed |
| Laser class | Class 1 (IEC 60825-1:2014), eye-safety statement available on request |
| Warranty | 6 months |
WRO RoboMission: allowed for Senior; Elementary and Junior teams should confirm with their organizer (Class 1 eye-safe laser)
WRO rules check · Other competitions · Where to buy
① Pick your host
Only hosts this product supports are listed; pick one, then your software, and the page covers just that software.
 SPIKELEGO SPIKE Prime (yellow hub) and Robot Inventor (teal hub)Official LEGO App · MBC Blocks website · Pybricks
 EV3LEGO MINDSTORMS EV3 brick (RJ12 plug)EV3-G · EV3 Classroom · Pybricks · clev3r
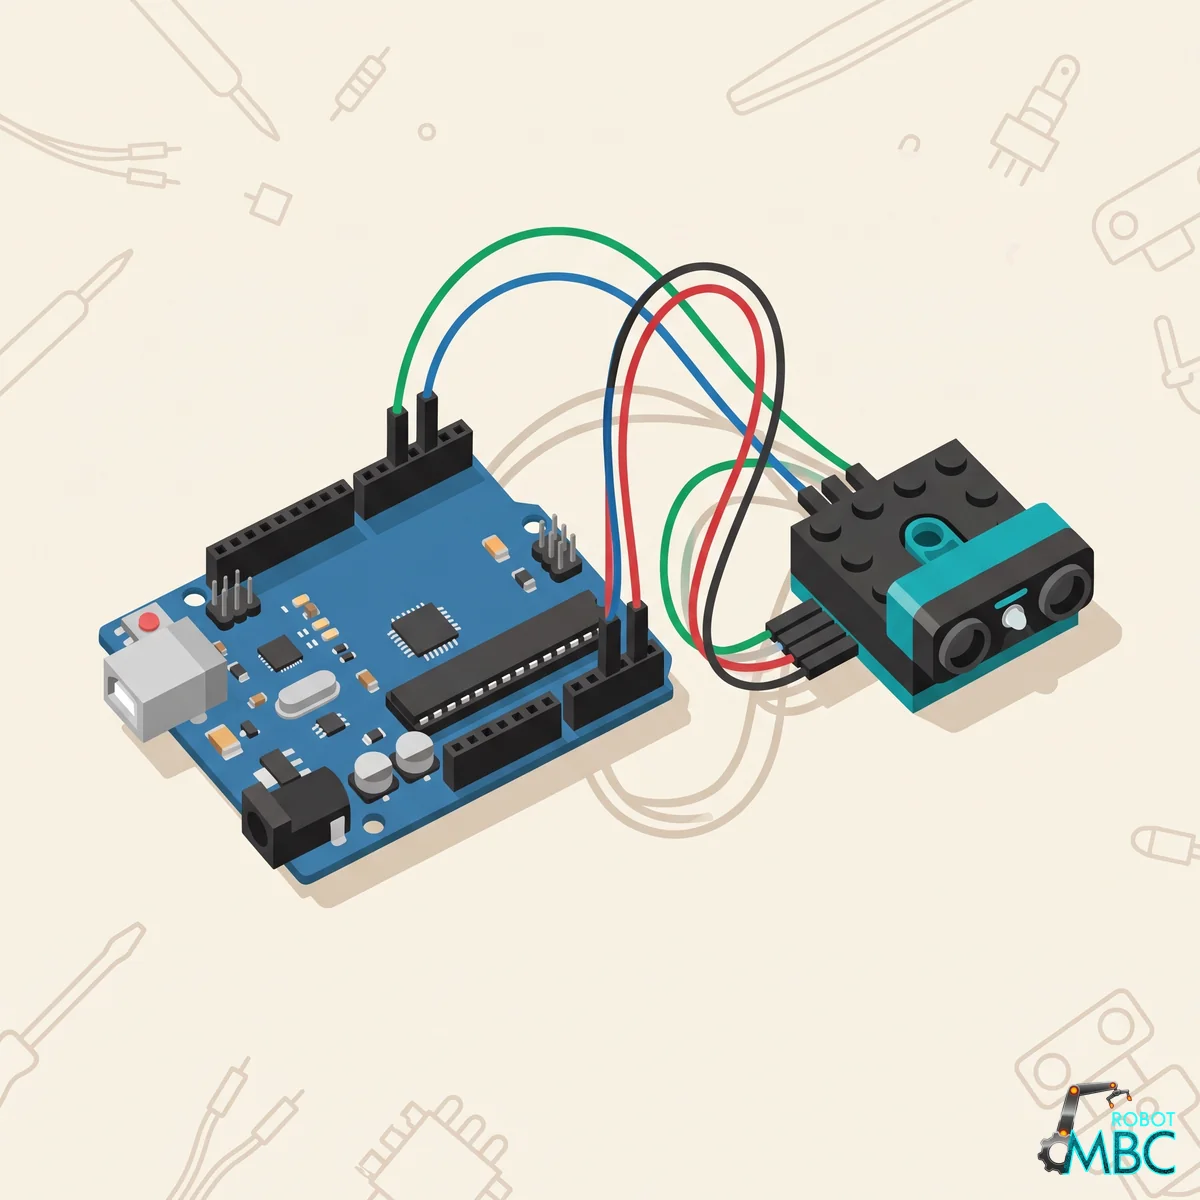 ArduinoArduino UNO, Nano, UNO R4, ESP32 over I2CArduino IDE
 mBlockmBot, Ranger, Orion, MegaPi with mBlock 5 blocksmBlock 5
 MATRIXMATRIX Mini R4 controller with MATRIXblockMATRIXblock stock blocks
 micro:bitmicro:bit V1 / V2 with MakeCode blocksMakeCode
Interactive tutorial
No hub needed: click through it in your browser. Pick a function on the left, watch the code or blocks build up on the right, and drag the simulated sensor to see the values.
SPIKEMicroPython (Pybricks)Pybricks blocksPybricks built-in blocks (no library)MBC Blocks websiteLEGO SPIKE AppLEGO SPIKE App Python
EV3Pybricks / EV3 MicroPythonclev3rEV3 ClassroomEV3-G (LEGO software)
ArduinoArduino IDE
mBlockmBlock 5
MATRIXMATRIXblock
micro:bitMakeCode
Say goodbye to ultrasonic ghosts: 180-degree zero blind spots. An 8-point laser ranging array for sumo battles and high-speed obstacle avoidance.
Product Overview
Ultrasonic sensors have two fatal flaws in robotics competitions: slow reaction speed (limited by the speed of sound) and susceptibility to echo ghosts (interfering data). In sumo battles or high-speed obstacle avoidance, these flaws can directly lead to a match loss.
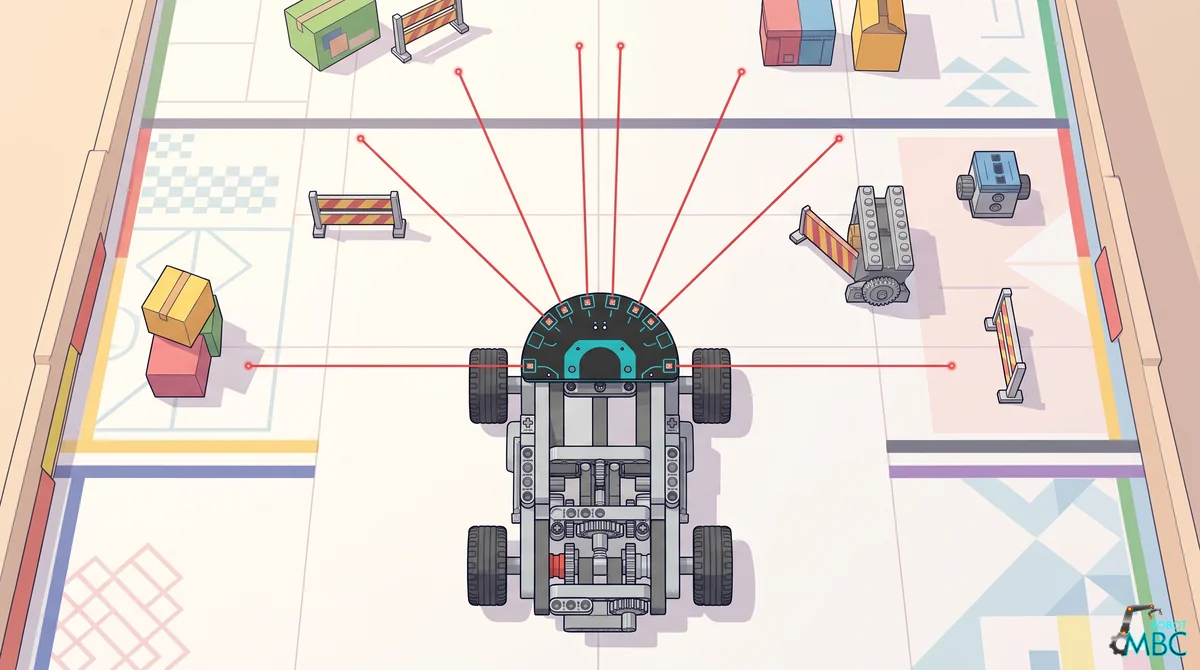
The Ranger 8-Way is equipped with 8 laser ranging units, covering a complete 90 degrees left and right, totaling a 180-degree full field of view. Your robot sees obstacles and targets across the whole front at once.
Core Advantages
- 180-Degree Zero Blind Spot Coverage: 4 units on the left, 4 on the right, covering the complete forward semicircle. Detect all threats with zero blind spots.
- Laser-Speed Reaction: Measures distance at the speed of light with millisecond reaction times, allowing the robot to make decisions at maximum speed.
- 🥊 Ultimate Sumo Weapon: The full field of view gives opponents nowhere to hide. Lock on and pursue targets instantly.
- 🔼 Seamless Upgrade Design: Features dual 0-degree (straight forward) laser points, seamlessly integrating with the TOF2 programming logic for a zero-cost upgrade.
Angle Distribution
The 8 laser ranging units are distributed at fixed angles, covering a complete 180-degree field of view:
| Channel | Angle | Direction |
|---|---|---|
| 1 | -90° | Direct Left |
| 2 | -60° | Left Forward 60° |
| 3 | -30° | Left Forward 30° |
| 4 | 0° | Direct Forward |
| 5 | 0° | Direct Forward (For TOF2 transition) |
| 6 | +30° | Right Forward 30° |
| 7 | +60° | Right Forward 60° |
| 8 | +90° | Direct Right |
Design Ingenuity: Retaining two direct forward (0-degree) sensors allows users upgrading from TOF2 to seamlessly carry over their original programming logic. You only need to add processing for the extra channels.
Specifications
| Item | Spec |
|---|---|
| Sensing elements | 8 laser time-of-flight (ToF) ranging units |
| Range | 0 ~ 1200 mm (a reading of 1200 mm / 120 cm = no target in that direction) |
| Field of view | 180° in front (90° to each side) |
| Bearing resolution | 17 bearings (0 ~ 16, 8 = straight ahead) |
| Startup | About 2 ~ 4 s to initialize all 8 sensors (the link to the hub stays alive meanwhile) |
| Fault detection | Detects init failures, bus errors and timeouts per sensor; readable by the host |
Supported Platforms
| Platform | How |
|---|---|
| LEGO SPIKE Prime / Robot Inventor | Official app, Pybricks (👉 SPIKE beginner examples: official app / MBC blocks site / Pybricks, 5 each — in Chinese) |
| LEGO SPIKE Essential | Not supported |
| LEGO MINDSTORMS EV3 | EV3 official software, Pybricks (EV3 beginner examples) |
| Arduino / ESP32 / Raspberry Pi | Universal I2C (address 0x29), Arduino Examples |
| MATRIX Mini R4 | I2C (stock colour-sensor blocks, see MATRIX overview) |
| MakeBlock (mBot etc.) | Dedicated edition, blocks & wiring |
Important
Each platform is a different factory edition (different connector and firmware). Please order the edition that matches your controller, or contact us if unsure.
Example Downloads
| Hub | Files |
|---|---|
| SPIKE (Pybricks 4.1) | Download all (.zip) · No library (blocks) · Library example (blocks) · Library MBC_laser8_obj_Lib.py · Shared library MBC_sensors.py (for new projects) |
| SPIKE (Pybricks 3.6.1, no longer updated) | Old files are under "Legacy (no longer updated)" on the Downloads page |
| EV3 | EV3 beginner examples |
| Arduino (Universal I2C edition) | 6 beginner examples (step by step) · All examples (.zip) |
| mBot etc. (MakeBlock) | Block extension and avoidance example |
Import the library file into the same Pybricks project without renaming it.
Output Data
Bearing: 0 ~ 16, 8 = straight ahead; smaller = further left, larger = further right; with a target it is only 1 ~ 15, and 0 or 16 means no target within 120 cm (keeps the side where the target was last seen, not far left / far right). The I2C edition reports it as -7 (far left) ~ +7 (far right), 0 = straight ahead; ±8 means no target within 120 cm (not far left / far right). EV3 edition: a single sensor bearing is -7 ~ +7 (negative = left, positive = right); ±8 means no target within 120 cm (not far left / far right).
SPIKE Modes (Pybricks: PUPDevice(Port.X).read(mode))
| Mode | Content |
|---|---|
| 1 | Bearing of the nearest target (1 ~ 15 with a target; 0 or 16 = no target) |
| 2 | Distance to the nearest target (cm, 0 ~ 120) |
| 3 | Bearing, nearest distance, leftmost sensor distance (3 values; the rightmost distance is not available here — use mode 9) |
| 9 | Everything: 8 distances (cm), nearest bearing & distance, farthest bearing & distance, init-OK bitmap, fault bitmap |
EV3 Modes
| Mode | Content |
|---|---|
| 0 | Distance straight ahead (average of the two 0° sensors, 0 ~ 100: 1 unit = 1.2 cm, 100 = no target) |
| 1 | All 8 distances (0 ~ 100 each) |
| 2 | Nearest bearing (-7 ~ +7, ±8 = no target), nearest distance, farthest bearing, farthest distance |
∿ Universal I2C Registers (address 0x29)
0x29)See the MBC Universal I2C Protocol for shared rules and Arduino helpers. Distances are uint16 in mm: 1200 = no target in range, 0xFFFF = sensor fault.
Tip
No coding experience? No problem: see the Arduino Examples. Every example can be copied and uploaded right away, with an English note on every line.
| Register | Dir | Len | Content |
|---|---|---|---|
0x01 |
R | 17 | Version bundle (model, firmware version, etc.; see the shared protocol) |
0x11 |
R | 6 | Bearing bundle (= 0x12 ~ 0x15) |
0x12 |
R | 1 | Nearest target bearing int8: with a target, -7 (left) ~ +7 (right), 0 = ahead; ±8 = none of the 8 sensors sees a target. Check 0x13 < 1200 first, then use the bearing |
0x13 |
R | 2 | Nearest distance mm |
0x14 |
R | 1 | Farthest target bearing int8 (0 when none of the 8 sensors sees a target) |
0x15 |
R | 2 | Farthest distance mm |
0x21 |
R | 16 | All 8 distances (= 0x22 ~ 0x29) |
0x22 ~ 0x29 |
R | 2 | Sensor 0 ~ 7 distance mm (sensor 0 = leftmost, 7 = rightmost) |
0x30 |
W | 1 | 0x01 = reboot |
0x31 |
R | 9 | Status bundle (= 0x32 ~ 0x37) |
0x32 |
R | 1 | bit0 = ready (all 8 initialized, about 2 ~ 4 s after power-on), bit1 = any sensor faulty. Before it is ready, every distance reads 0, so wait for bit0 = 1 first |
0x34 / 0x35 / 0x36 |
R | 1 | Init-OK / bus-error / timeout bitmaps (bit i = sensor i) |
Variant 0x06 = [8, 120] (sensor count, max range ×10 mm); model 0x07 = LASER8.
// Wait until ready first (about 2 ~ 4 s after power-on; distances are 0 before that)
uint8_t flags = 0;
while (!(iicRead(0x29, 0x32, &flags, 1) && (flags & 0x01))) delay(100);

// Read the nearest target's bearing and distance
uint8_t d[6];
if (iicRead(0x29, 0x11, d, 6)) {
  uint16_t dist = ((uint16_t)d[1] << 8) | d[2];   // mm, 1200 = no target
  if (dist < 1200) {
    int8_t dir = (int8_t)d[0];                     // -7 left ~ +7 right, 0 = ahead
  }
}
Hardware Wiring
- SPIKE / EV3 edition: plug into SPIKE (Port A
F) or EV3 (Port 14) with a standard cable Universal I2C edition: VCC → 5V, GND → GND, SDA → A4, SCL → A5 (Arduino UNO / Nano). See the Arduino Examples for details - Initialization takes about 2 ~ 4 s after power-on; once the indicator LED is on, it is ready
FAQ
- Reading 120 cm (1200 mm)? → Nothing is within range in that direction — this is normal (EV3 reads 100).
- The two 0° sensors read differently? → Tiny angle differences between them cause small deviations; average them (EV3 mode 0 already does).
- One sensor never reports? → Check the fault bitmaps (SPIKE mode 9 or I2C
0x34~`0x36`) to see which one, then contact us for service.
Interested in this sensor?
Ask us for pricing, bulk / school orders or distributor info. Our engineers reply within 3 business days.