
SharpShot Vision legacy editions (no longer supported)
Warning
No longer supported: SharpShot Vision units shipped before 2026-10 (School and WRO editions) are no longer supported; their guides and examples stay here for reference. To upgrade to the current SharpShot Vision, contact the distributor you bought it from and send it back: the firmware update is free, and the buyer pays shipping both ways.
This page collects the guides, examples, interactive tutorials and downloads for the legacy SharpShot ESP32CAM (School edition and WRO edition HUE12). The old addresses are unchanged, so saved links still work.
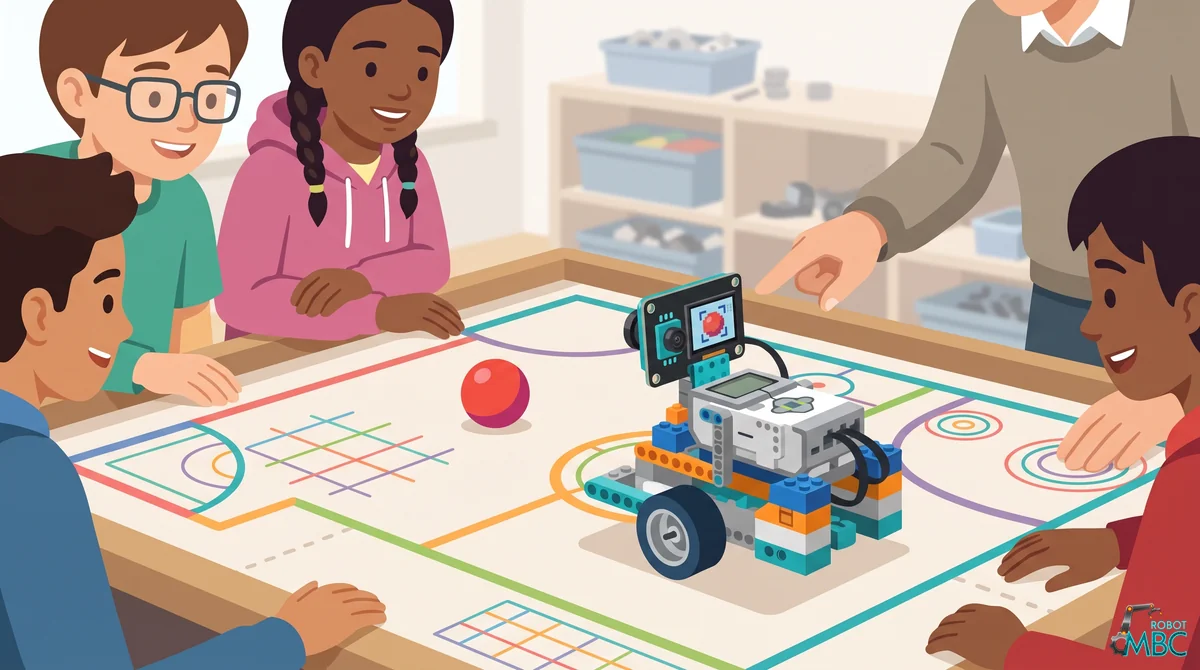
① Pick your host
Only hosts this product supports are listed; pick one, then your software, and the page covers just that software.
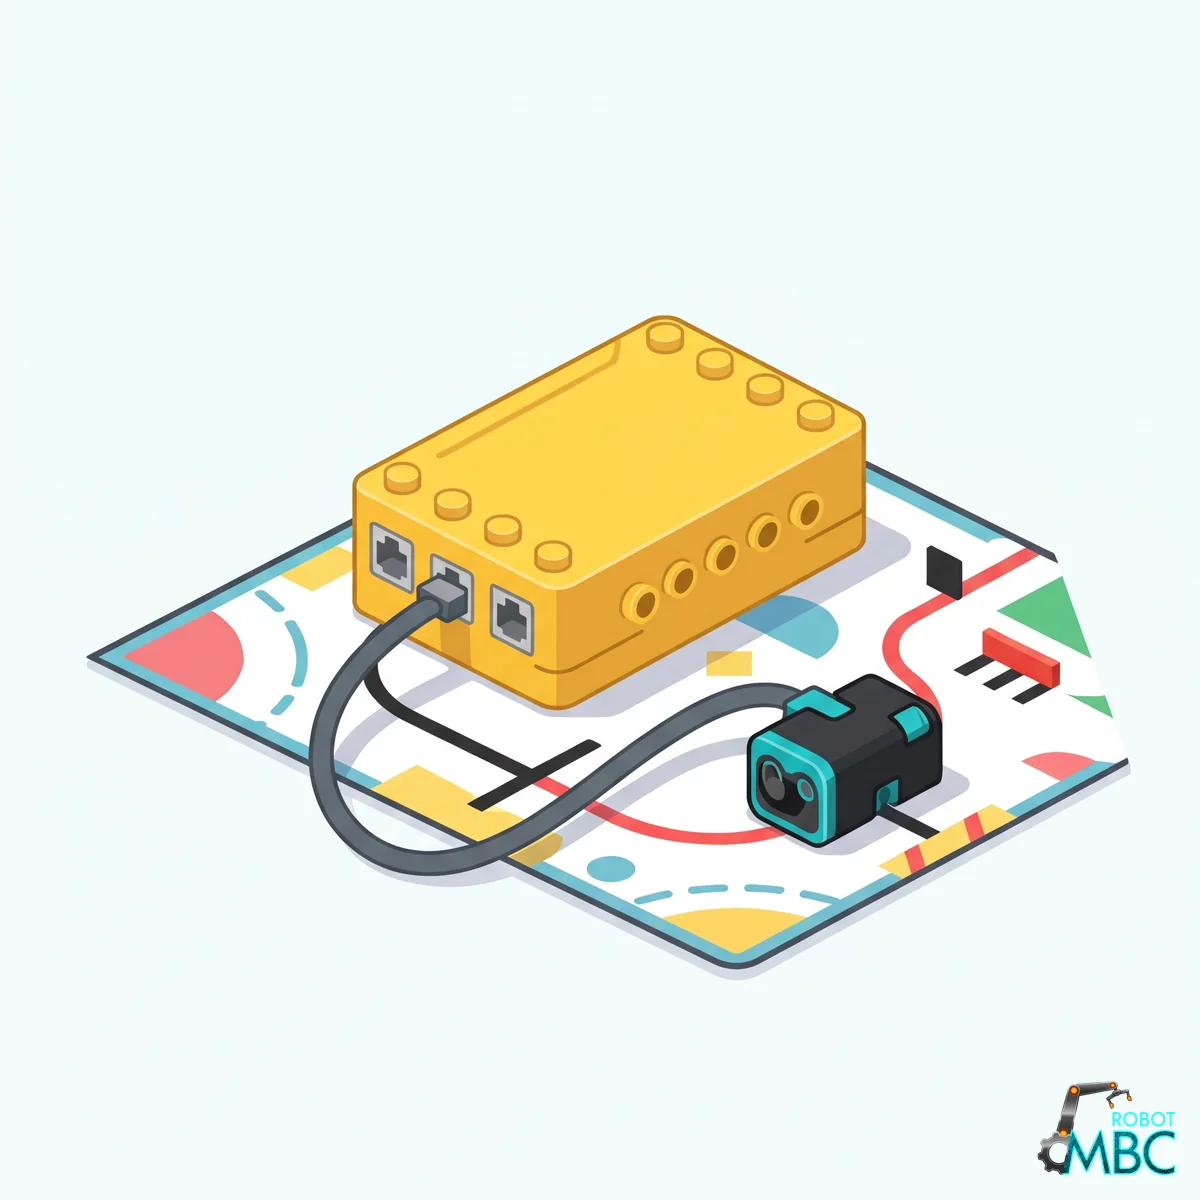 SPIKELEGO SPIKE Prime (yellow hub) and Robot Inventor (teal hub)Official LEGO App · MBC Blocks website · Pybricks
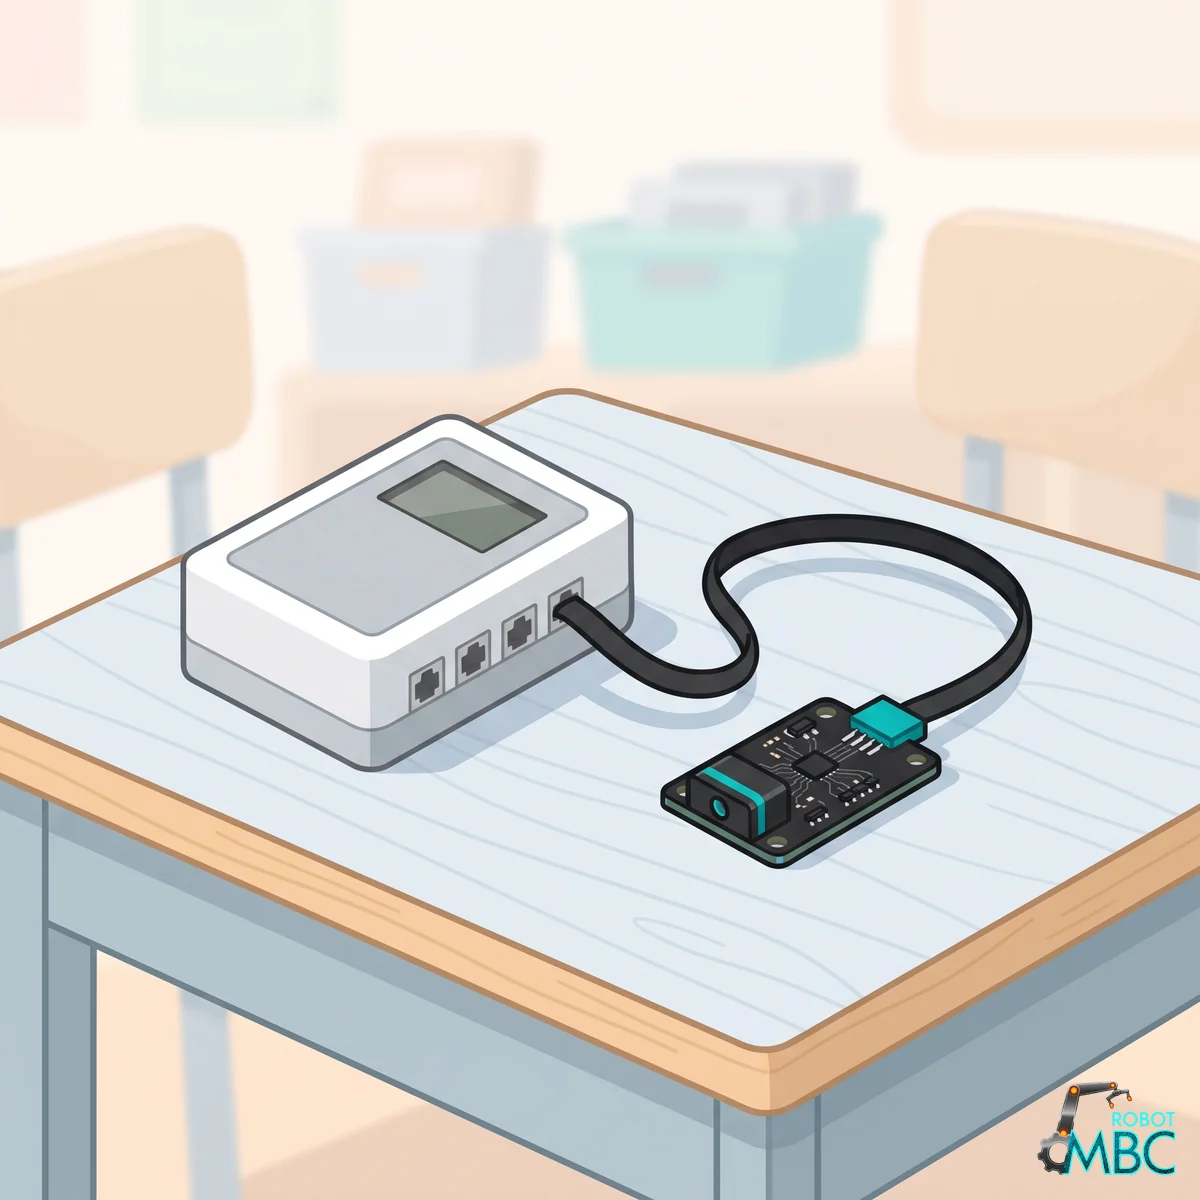 EV3LEGO MINDSTORMS EV3 brick (RJ12 plug)EV3-G · EV3 Classroom · Pybricks · clev3r
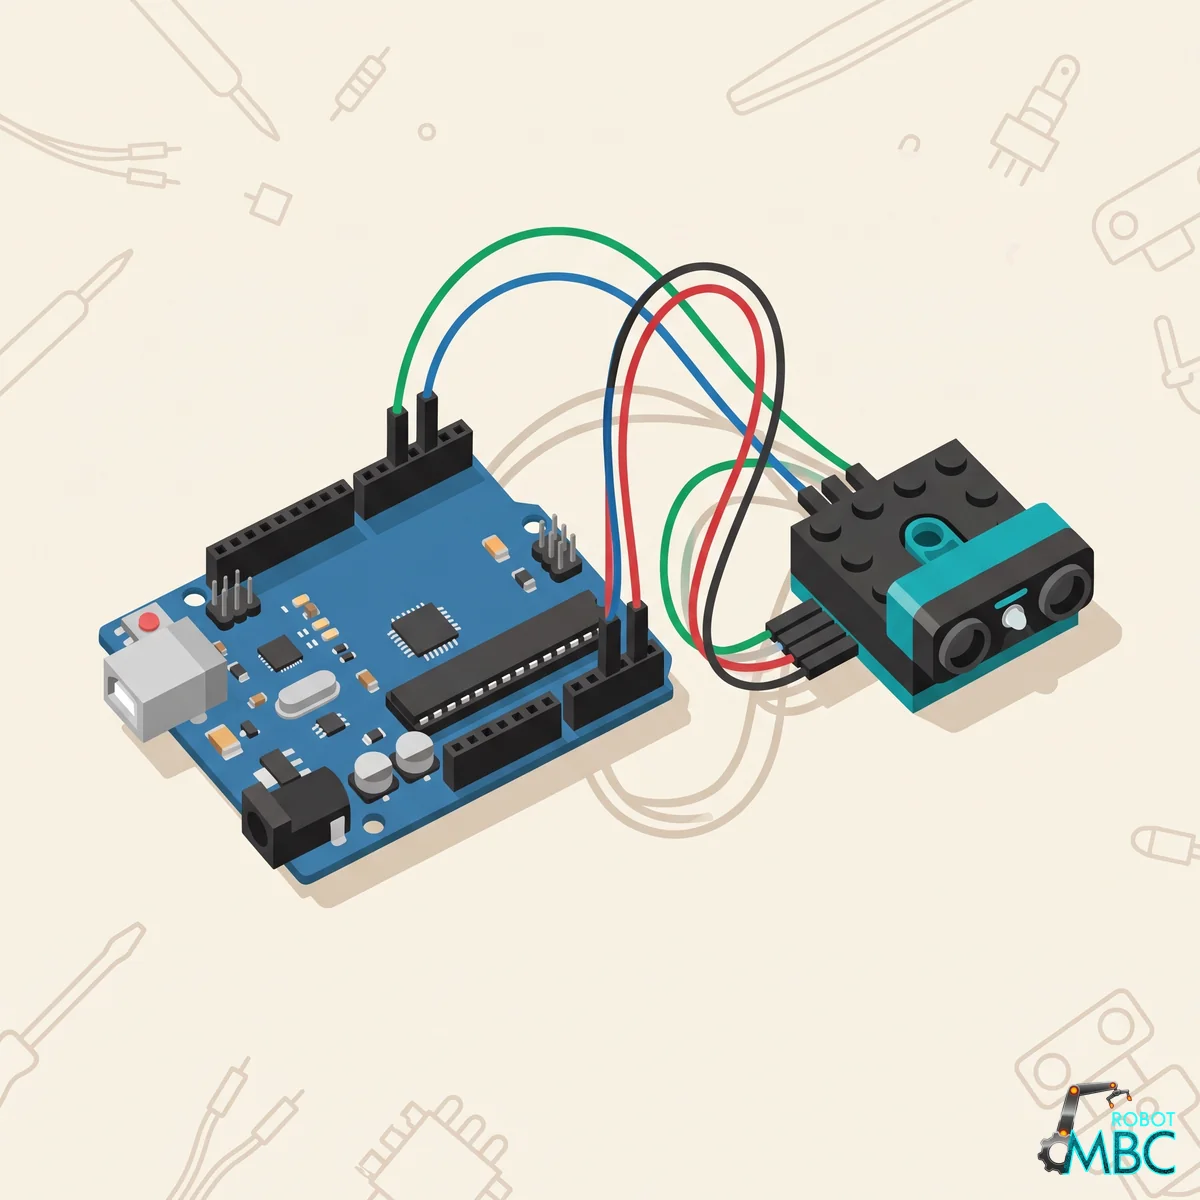 ArduinoArduino UNO, Nano, UNO R4, ESP32 over I2CArduino IDE
 mBlockmBot, Ranger, Orion, MegaPi with mBlock 5 blocksmBlock 5
 MATRIXMATRIX Mini R4 controller with MATRIXblockmVision blocks
 micro:bitmicro:bit V1 / V2 with MakeCode blocksMakeCode
Interactive tutorial
No hub needed: click through it in your browser. Pick a function on the left, watch the code or blocks build up on the right, and drag the simulated sensor to see the values.
SPIKE School editionMicroPython (Pybricks)Pybricks blocksPybricks built-in blocks (no library)MBC Blocks websiteLEGO SPIKE AppLEGO SPIKE App Python
SPIKE WRO editionMicroPython (Pybricks)Pybricks blocksMBC Blocks websiteLEGO SPIKE App
EV3 School editionPybricks / EV3 MicroPythonclev3rEV3 ClassroomEV3-G (LEGO software)
EV3 WRO editionPybricks / EV3 MicroPythonclev3rEV3 ClassroomEV3-G (LEGO software)
Arduino School editionArduino IDE
Arduino WRO editionArduino IDE
mBlock School editionmBlock 5
mBlock WRO editionmBlock 5
MATRIX School editionMATRIXblock
MATRIX WRO editionMATRIXblock
micro:bit School editionMakeCode
micro:bit WRO editionMakeCode
Host guides and examples
Each host guide covers both the School and the WRO edition; examples and value tables are separate for the two editions.
| Host | Host guide (by software) | School edition | WRO edition (HUE12) |
|---|---|---|---|
| SPIKE | SPIKE: LEGO official app · MBC Blocks website · Pybricks | SPIKE beginner examples | SPIKE beginner examples |
| EV3 | EV3: EV3-G · EV3 Classroom · Pybricks · clev3r | EV3 beginner examples | EV3 beginner examples |
| Arduino | Arduino: Arduino IDE | I2C value table · Arduino examples | I2C value table |
| mBlock | mBlock: mBlock 5 | Block table · mBlock examples | Block table |
| MATRIX | MATRIX: mVision blocks | MATRIX value table | MATRIX value table |
| micro:bit | micro:bit: MakeCode | MakeCode block table · micro:bit examples | MakeCode block table |
Value reference (how each value is read on each host): School edition · WRO edition (HUE12)
Interactive tutorials
No hub needed: click through them in your browser.
| Host | School edition | WRO edition (HUE12) |
|---|---|---|
| SPIKE | MicroPython (Pybricks) · Pybricks blocks · MBC Blocks website · LEGO SPIKE App | MicroPython (Pybricks) · Pybricks blocks · MBC Blocks website · LEGO SPIKE App |
| EV3 | Pybricks / EV3 MicroPython · clev3r · EV3 Classroom · EV3-G | Pybricks / EV3 MicroPython · clev3r · EV3 Classroom · EV3-G |
| Arduino | Arduino IDE | Arduino IDE |
| mBlock | mBlock 5 | mBlock 5 |
| MATRIX | MATRIXblock | MATRIXblock |
| micro:bit | MakeCode | MakeCode |
⬇️ Downloads
| File | Contents |
|---|---|
| esp32cam_arduino_examples_en.zip · Chinese comments | Arduino examples (I2C, School + WRO editions) |
| MBC_cam_school.py · MBC_hue12.py | Pybricks libraries (one file each for the School and WRO editions) |
| MBC_cam_school_Lib.py · MBC_hue12_Lib.py | Old-name libraries (drop-in replacement for old projects) |
| MBC_sensors.py | MBC unified library (shared by all MBC sensors) |
| Download center | mBlock 5 extension (its "Vision" category holds the legacy blocks) |
Beginner example files for the SPIKE official app, the MBC Blocks website and the EV3 software are not zipped; download them one by one on the beginner example pages above.
Legacy product details
Product Overview
The official LEGO color sensor only sees a single spot directly underneath it. It cannot track a moving color blob or tell where a target is in the scene.
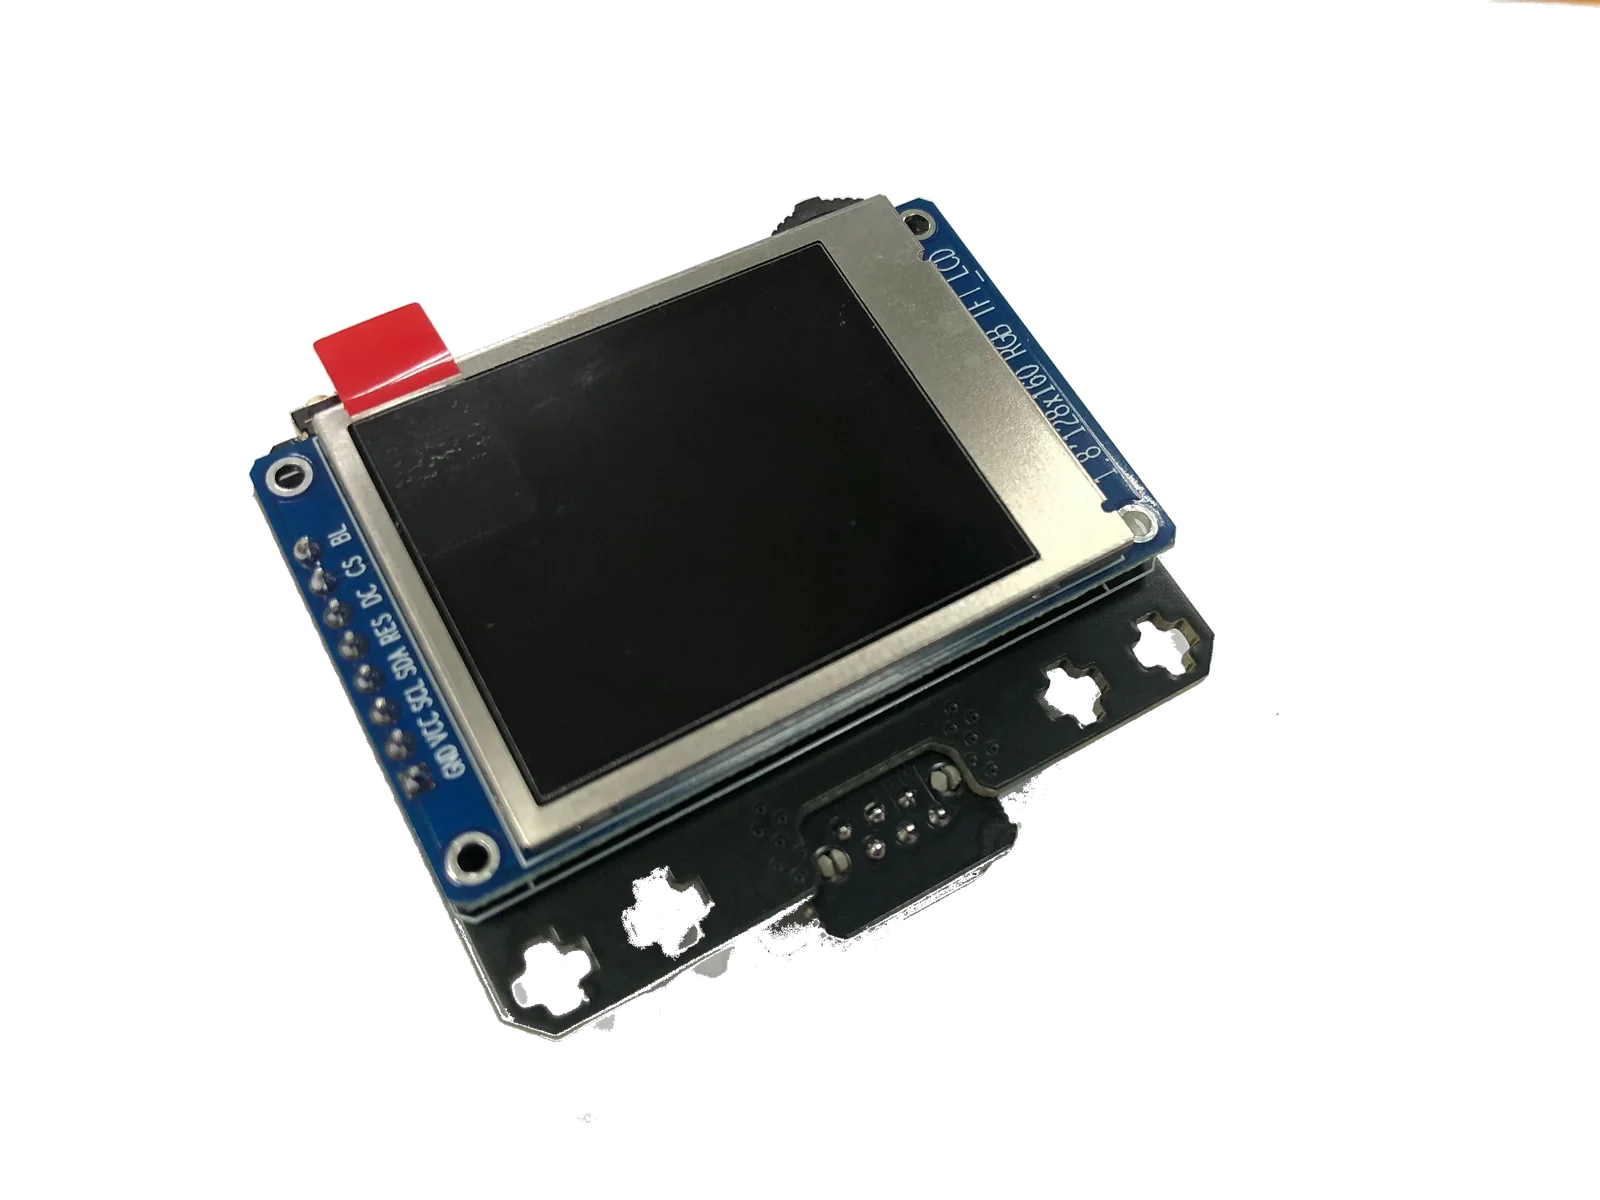
The SharpShot ESP32CAM gives your robot real eyes: it finds the position and size of a chosen color blob in real time, reads the color at any point of the image, and detects motion. Everything is set up on the color screen and buttons on the back of the sensor while you watch the live image; settings are stored on the device and ready at the next power-on.
Core Advantages
- 🖥️ Live preview on the device: a 1.8" color screen on the back shows the camera image and detection results
- Button menu setup: pick point position, HSV tolerances and minimum blob area on the sensor itself — no computer needed
- 💾 Settings survive power-off: color setups and camera settings (brightness, contrast, saturation, exposure, white balance, flip, mirror) are stored on the device
- Five outputs at once: point color, blob area, blob X / Y, motion value
- Built-in flash light: stable color detection in dim venues
- 🔭 Optional lenses: narrow (see far) or wide (see more) to suit your field
Specifications
| Item | Spec |
|---|---|
| Image resolution | 160 × 120 (output coordinates are scaled down: SPIKE edition X 0 ~ 98, Y 1 ~ 75; see "Output Data" below) |
| Screen | 1.8" 128 × 160 color TFT |
| Buttons | Left, right, enter, side (short press: open/close menu; long press 1 s in the menu: clear that color slot) |
| Lens options (field of view) | 65° / 110° / 120° / 160° |
| Flash light | Built-in, switched in the on-device menu (setting is saved) |
Output Data
Values below are for the SPIKE edition with the current firmware (EV3 edition: see the next section).
| Output | Content (SPIKE edition) |
|---|---|
| Point color | Hue at the chosen point: 0 ~ 100 (red 0/100, yellow ≈17, green ≈33, blue ≈67), -1 = black/white/gray; 0 ~ 10 in the Robot Inventor official app. Reads 0 (same as red) if the color point has not been set |
| Blob area | 0 ~ 100 (0 = not found; X / Y are then invalid); only readable in the official app — Pybricks mode 9 has no area |
| Blob X | 0 ~ 98, left → right, center ≈ 50; 0 when not found |
| Blob Y | 1 ~ 75, bottom → top (small at the bottom, large at the top), center ≈ 37; 0 when not found |
| Motion value | 0 ~ 100, higher = more change in the image |
Official SPIKE App (Education) blocks: "color" = hue, "reflected light" = motion value, "raw red / green / blue" = blob X / Y / area.
Values read on EV3
The EV3 edition ships with one of two firmwares:
| Firmware | Shows on EV3 as | Values |
|---|---|---|
| School / creative edition (color pick + blob tracking + motion) | Infrared Sensor | Mode 0: Hue (0 ~ 100; red 0/100, yellow ≈17, green ≈33, blue ≈67; -1 = black/white/gray). Mode 1 (8 values): Hue, saturation, brightness, motion, blob X (0 ~ 100, left→right), Y (0 ~ 75, bottom→top), width, height; X/Y/width/height are all 0 when nothing is found, so test "width = 0" |
| WRO 2026 edition (HUE12, 12 color points) | Third-party sensor (type 95) | Hue code of each of the 12 points (0 ~ 239 color, 240 ~ 245 white, 246 ~ 250 black, 255 = point not enabled) plus saturation. Works with EV3-G (MBC custom block), clev3r and Pybricks; EV3 Classroom cannot read it |
EV3 beginner examples: school / creative edition · WRO 2026 edition.
Hardware Wiring
- Plug the sensor into SPIKE (Port A
F) or EV3 (Port 14) - The sensor starts only after it is connected to a controller that is already powered on (the screen shows "LEGO Sync..." first); once the camera image appears it is ready
- Short-press the side button to open the setup menu; use left / right to choose and enter to confirm. Color setups and camera settings are saved automatically
General Tips
- Set the color where you will compete: hue tolerances depend on the venue lighting. Point the camera at the target on the actual field, open the menu and pick the color there; turn on the flash light if the venue is dim.
- Minimum blob area filters noise: if small patches of a similar color trigger false detections, raise the minimum blob area in the menu.
- Check "found" before using X / Y: when no blob is found, X / Y / width / height all read
0. Test area (SPIKE) or width (EV3) first, then use the coordinates. - Clear a color slot: in the menu, hold the side button for 1 s on that slot.
FAQ
- The screen stays on "LEGO Sync..."? → The sensor only starts after the hub is powered on. Power the hub first, then plug the sensor in, or re-plug the cable; try another port if it still does not sync.
- The blob jumps around or is lost? → Lighting changed since you set the color. Re-pick the color on the field, widen the HSV tolerance a little, or turn on the flash light.
- Hue reads
0but the target is not red? → The color point has not been set yet (reads0, same as red) or the point is on a black / white / gray area (-1). Set the pick point in the menu. - Which firmware is on my EV3 edition? → Plug it into an EV3: the school edition shows as an Infrared Sensor, the WRO 2026 edition as a third-party sensor (type 95).