
IMU 9-Axis Gyro Sensor
The key to driving straight and turning precisely: correct heading at any mounting angle, and compass fusion that does not drift over long runs.
MSRP US$100 (shipping not included)
| Editions | EV3, SPIKE, Universal I2C |
|---|---|
| Power | Powered by the controller, no battery needed |
| Warranty | 6 months |
WRO RoboMission: allowed in all age groups
WRO rules check · Other competitions · Where to buy
① Pick your host
Only hosts this product supports are listed; pick one, then your software, and the page covers just that software.
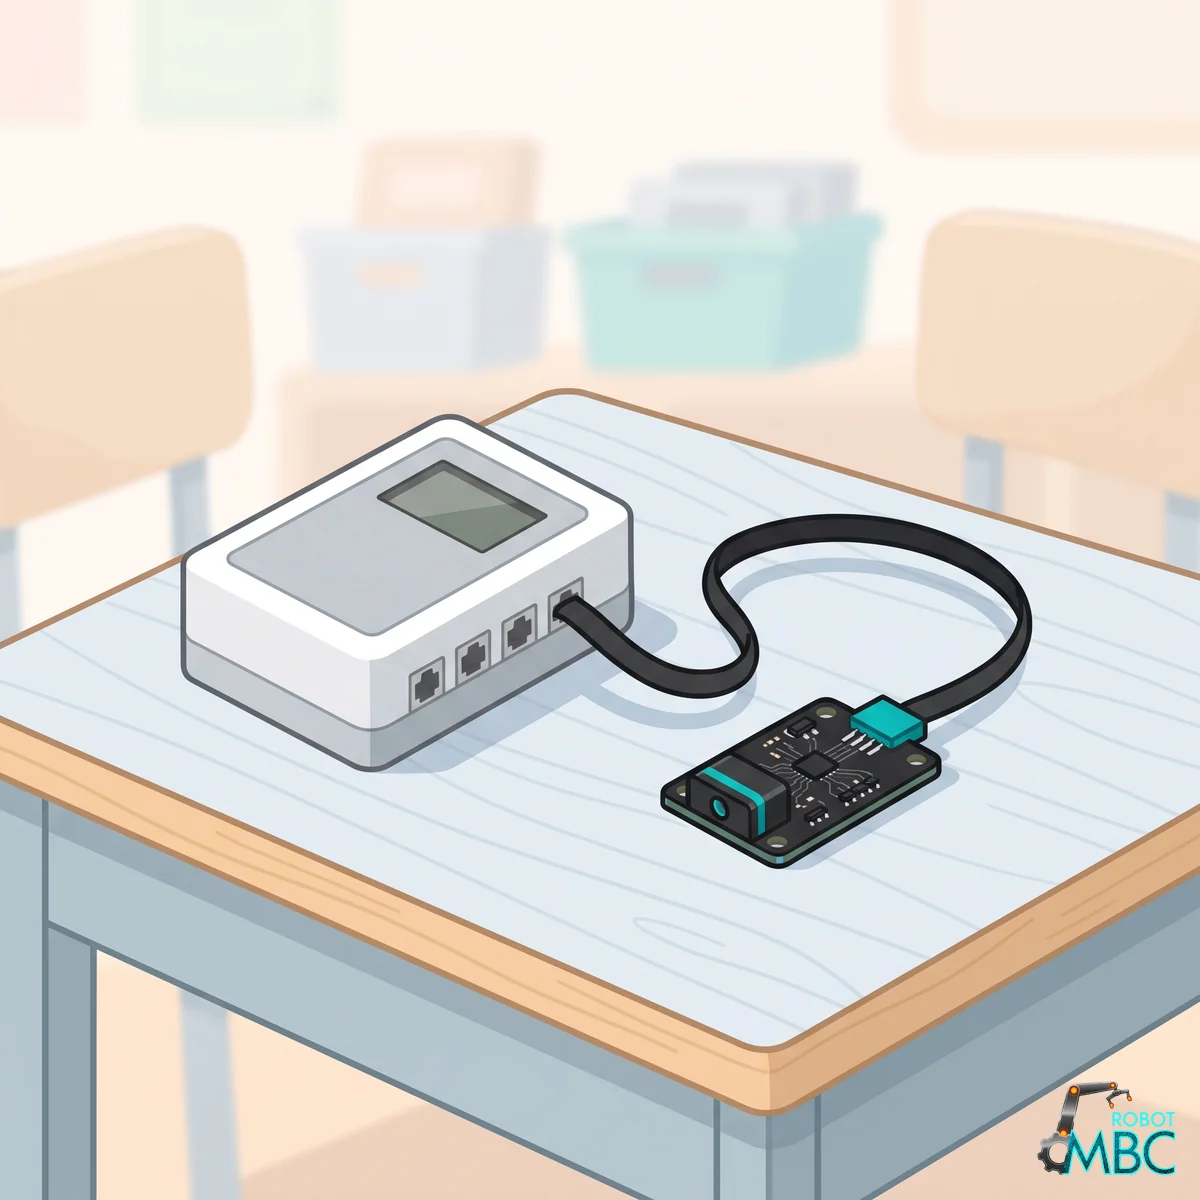 EV3LEGO MINDSTORMS EV3 brick (RJ12 plug)EV3-G · EV3 Classroom · Pybricks · clev3r
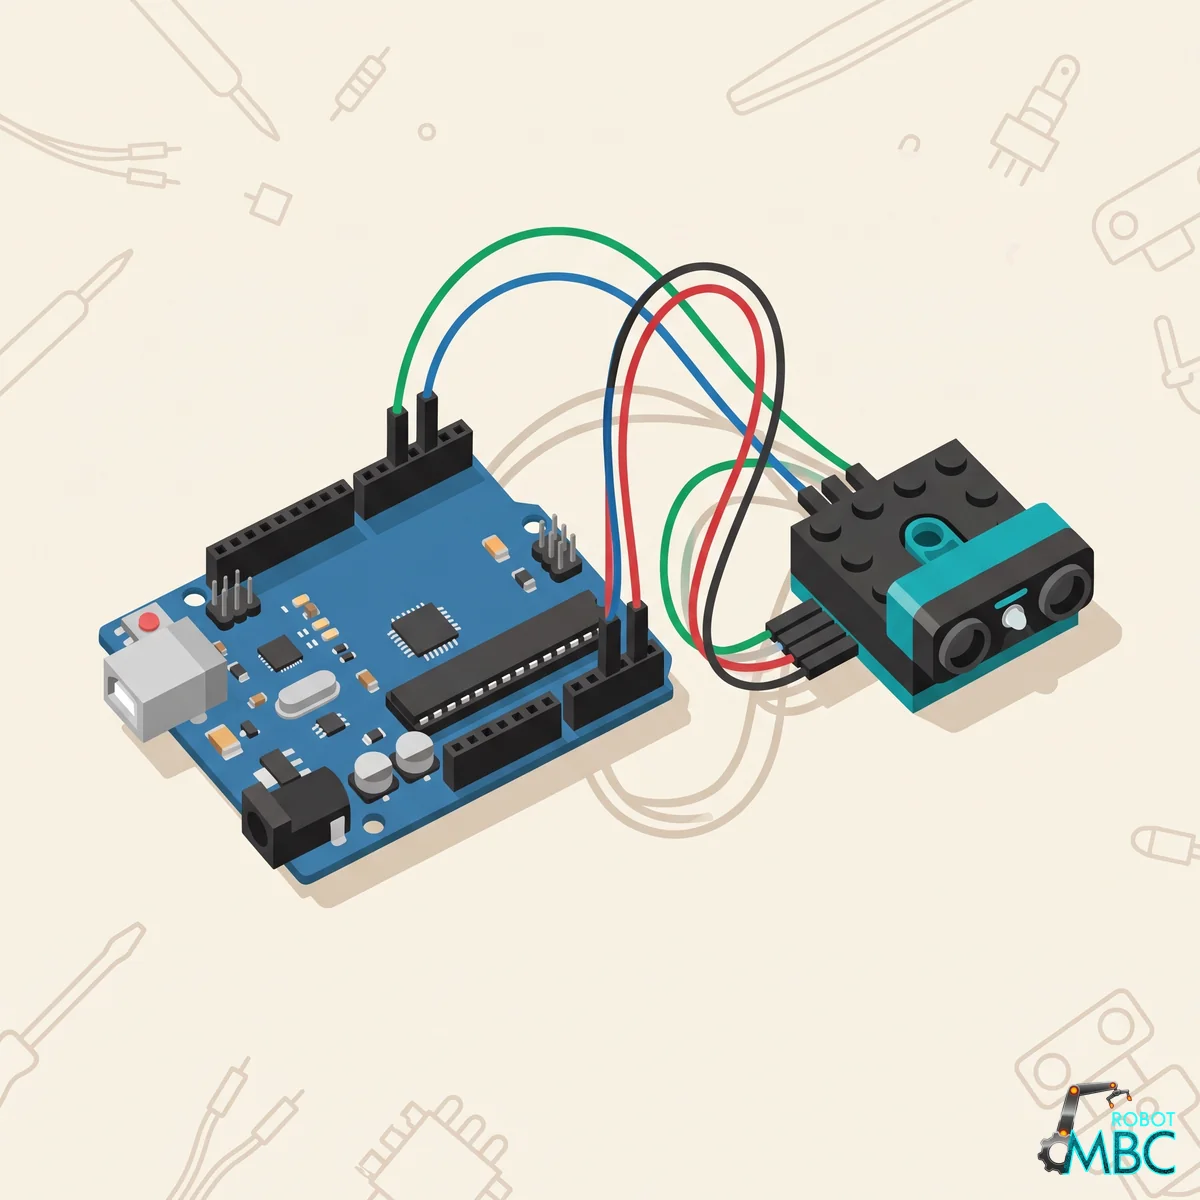 ArduinoArduino UNO, Nano, UNO R4, ESP32 over I2CArduino IDE
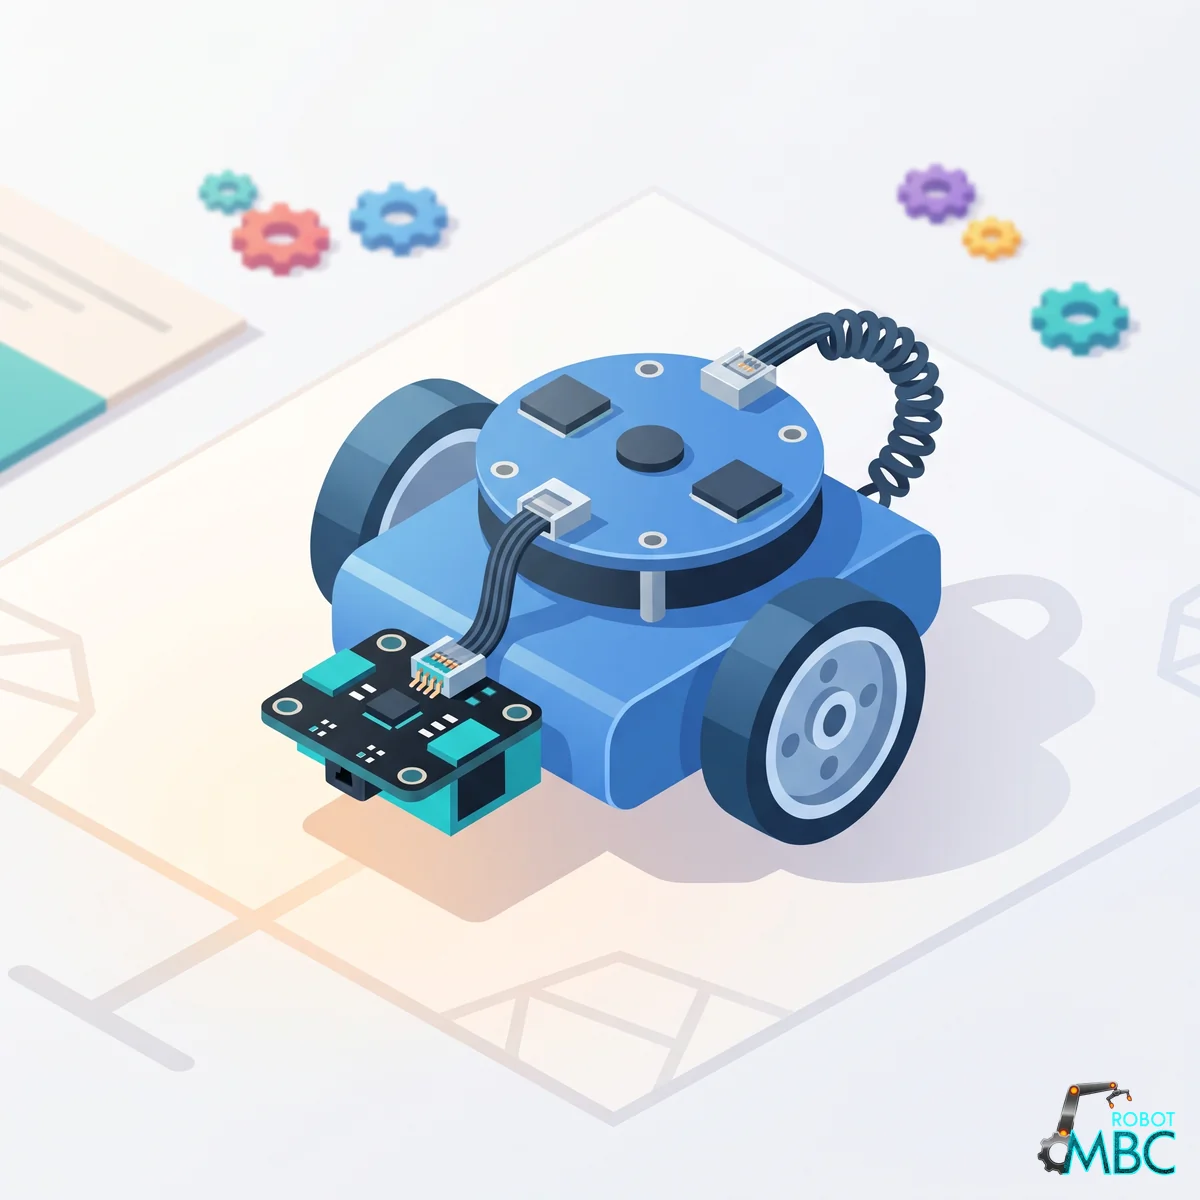 mBlockmBot, Ranger, Orion, MegaPi with mBlock 5 blocksmBlock 5
 MATRIXMATRIX Mini R4 controller with MATRIXblockMATRIXblock stock blocks
 micro:bitmicro:bit V1 / V2 with MakeCode blocksMakeCode
Interactive tutorial
No hub needed: click through it in your browser. Pick a function on the left, watch the code or blocks build up on the right, and drag the simulated sensor to see the values.
EV3Pybricks / EV3 MicroPythonclev3rEV3 ClassroomEV3-G (LEGO software)
ArduinoArduino IDE
mBlockmBlock 5
MATRIXMATRIXblock
micro:bitMakeCode
Product Overview
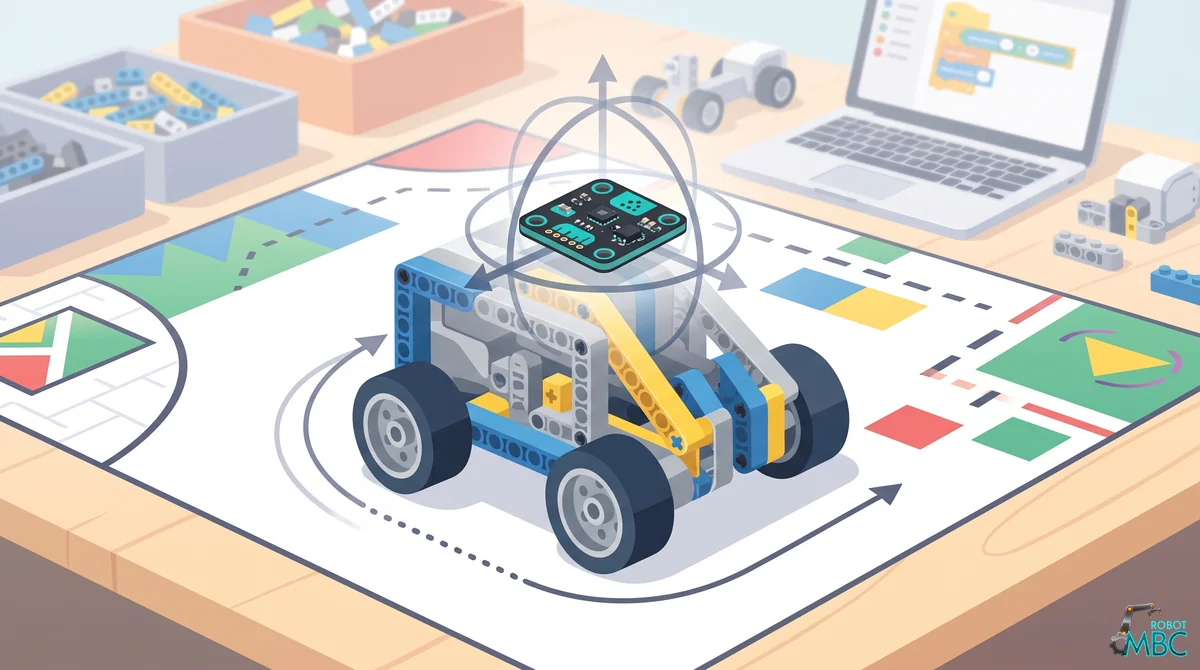
Driving straight and turning precise angles depends on the gyro. Ordinary gyros have two old problems: they must be mounted flat, and the heading slowly drifts over time.
The MBC IMU combines 6-axis inertial sensing (gyroscope + accelerometer) with a magnetometer and offers three heading algorithms:
- 3D-compensated heading (Gyro3D): detects the mounting orientation automatically, so the heading is correct at any mounting angle. Use this first.
- Compass-fused heading (GyroWithCompass): the magnetometer corrects the gyro's accumulated error — no drift over long runs.
- Single-axis gyro + magnetometer heading: classic single-axis heading, plus a heading computed from the magnetometer alone (relative: 0 at power-on or reset, not a north-referenced bearing).
Core Advantages
- Mount at any angle: the mounting axis is captured automatically — upright, sideways or upside down
- 📉 No long-run drift: the compass-fused heading keeps correcting gyro error
- Works as the official EV3 gyro: read it with the standard gyro blocks in the EV3 software
- 🔘 Button calibration: separate buttons for accelerometer and magnetometer calibration, stored on the device
- Full 9-axis data: raw angular rate, acceleration and magnetic field on all three axes
EV3 Block Mapping
In the official EV3 software, use the standard gyro block; each mode maps to:
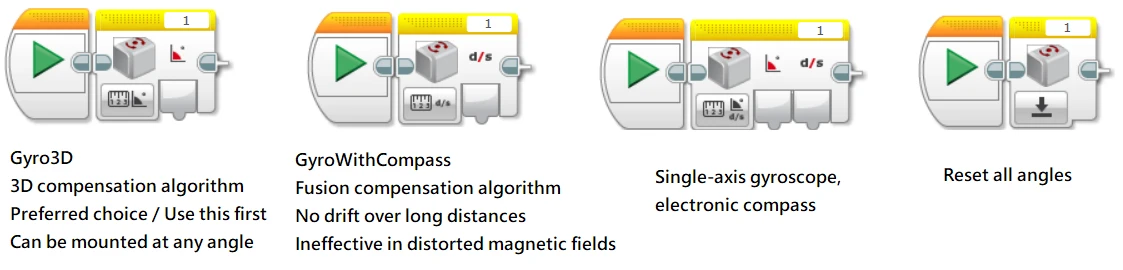
| EV3 gyro block mode | Function | Notes |
|---|---|---|
| Angle | Gyro3D 3D-compensated heading | Preferred; any mounting angle |
| Rate | GyroWithCompass fused heading | No drift over long runs; unreliable in distorted magnetic fields |
| Angle and Rate | Single-axis gyro, magnetometer heading | Classic single-axis heading and magnetometer heading (relative, not north-referenced) |
| Reset | Reset all angles | All three headings reset together |
Warning
The magnetometer is affected by motors, steel tables, speakers and other magnetic sources. In magnetically noisy places, use Gyro3D.
Note
In EV3 Classroom the Angle and Rate blocks behave as in the table above ("Rate" returns the fused heading, not degrees per second). In Pybricks (EV3),
GyroSensor.angle()returns the single-axis gyro heading andspeed()returns the magnetometer heading (relative, not north-referenced);reset_angle(0)works normally; aftercalibrate()it takes about 3.5 s before readings come back (same as the LEGO gyro). For angular rate (degrees per second), read mode 2 withLUMPDevice(see example 7). On ev3dev,speed()returns the fused heading.
Tip
Tested on the stock EV3 firmware (2026-11-02): detected as the LEGO gyro sensor, the stock gyro reset block works, all 7 modes read correctly, and 300 mode switches plus continuous reading never dropped the connection. ev3dev: supported.
Push the plug all the way in, in one go. If the EV3 detects the wrong device (NXT I2C or Energy Meter), unplug it and plug it back in.
Compass Mode (alternative firmware on the same board)
The same IMU board can also be shipped with a magnetometer-only "compass" firmware: the EV3 gyro block's "angle" then returns the magnetic bearing 0-359 (absolute, north-referenced, not relative to power-on), and "rate" is always 0. Use it when you only need "which way am I facing" (maze backtracking, field orientation) and do not want to reset.
- EV3 mode only for now; choose "IMU heading" or "compass" firmware when ordering, or send the unit back to be re-flashed.
- The magnetometer is still affected by motors and steel field parts; run the magnetometer calibration (button, stored on the device) before use.
Supported Platforms
| Platform | How |
|---|---|
| LEGO MINDSTORMS EV3 | EV3-G (EV3 Lab, standard gyro blocks) / EV3 Classroom / clev3r: tested on the stock EV3 firmware (2026-11-02); Pybricks v4: tested (2026-11-02); ev3dev / EV3 MicroPython v2: supported (same mode table as the stock firmware) |
| LEGO SPIKE Prime / Robot Inventor | Not available |
| LEGO SPIKE Essential | Not supported |
| Arduino / ESP32 / Raspberry Pi | Universal I2C (address 0x6A); tested on Arduino Nano (2026-11-02) |
| MATRIX Mini R4 | I2C; tested with the stock library (2026-11-02) |
∿ Universal I2C Registers (address 0x6A)
0x6A)See the MBC Universal I2C Protocol for shared rules and Arduino helpers. All axes are in the sensor body frame; headings are in 1° and read 0 at power-on or after a reset.
- Heading direction: seen from above, turning right (clockwise) makes the value bigger. It keeps adding up (two turns = 720) and does not wrap to 0
359; to get 0359, use((h % 360) + 360) % 360. Past ±32767 it wraps around. All three headings are relative (not north-referenced compass angles). - Power-on: keep it still for about 0.5 s;
0x32bit0 (ready) only turns 1 after that. The heading resets to 0 automatically at power-on.
Tip
No coding experience? No problem: see the Arduino Examples. Every example can be copied and uploaded right away, with an English note on every line.
| Register | Dir | Len | Content |
|---|---|---|---|
0x10 |
W | 1 | 0x01 = reset heading (wait 30 ms after writing before reading) |
0x11 |
R | 6 | Heading bundle (= 0x12 ~ 0x14) |
0x12 |
R | 2 | Single-axis gyro heading int16, degrees |
0x13 |
R | 2 | 3D-compensated heading (Gyro3D) int16, degrees |
0x14 |
R | 2 | Gyro + magnetometer fused heading int16, degrees (relative, 0 after a reset) |
0x20 |
W | 1 | 0x01 / 0x02 start / stop accelerometer calibration; 0x03 / 0x04 start / stop magnetometer calibration |
0x21 |
R | 18 | 9-axis bundle (= 0x22 ~ 0x24) |
0x22 |
R | 6 | Angular rate X / Y / Z int16, 0.1 °/s (right-hand rule: counterclockwise is positive when you look from the positive end of the axis, so with Z pointing up a right turn is negative, the opposite sign of the heading) |
0x23 |
R | 6 | Acceleration X / Y / Z int16, mg |
0x24 |
R | 6 | Magnetic field X / Y / Z int16, mG (calibrated) |
0x32 |
R | 1 | bit0 ready, bit1 stationary, bit2 mounting axis captured, bit3 mounted too tilted, bit4 accel calibrating, bit5 mag calibrating, bit6 fusion initialized, bit7 mag auto-calibration converged |
0x34 |
R | 1 | Magnetometer trust 0 ~ 255 |
0x35 |
R | 1 | Magnetic disturbance level (unit 0.01° per update, max 255) |
0x36 |
R | 1 | Face pointing up (0 = +X, 1 = +Y, 2 = +Z, 3 = -X, 4 = -Y, 5 = -Z) |
// Read the three headings
uint8_t d[6];
if (iicRead(0x6A, 0x11, d, 6)) {
  int16_t gyro1D = (int16_t)(((uint16_t)d[0] << 8) | d[1]);
  int16_t gyro3D = (int16_t)(((uint16_t)d[2] << 8) | d[3]);   // recommended: grows when turning right
  int16_t fused  = (int16_t)(((uint16_t)d[4] << 8) | d[5]);   // fused heading (relative, not north)
}
iicWrite(0x6A, 0x10, 0x01);                          // reset heading
delay(30);                                           // wait for the reset to take effect before reading
Interested in this sensor?
Ask us for pricing, bulk / school orders or distributor info. Our engineers reply within 3 business days.