
Official SPIKE App Section (EXP6)

Characteristics: Easy to read, object-oriented design, synchronously executed commands.
If you are using the Pybricks Pro environment, please click here to switch to the Pybricks tutorial.
Download Dedicated Library and Examples
Tip
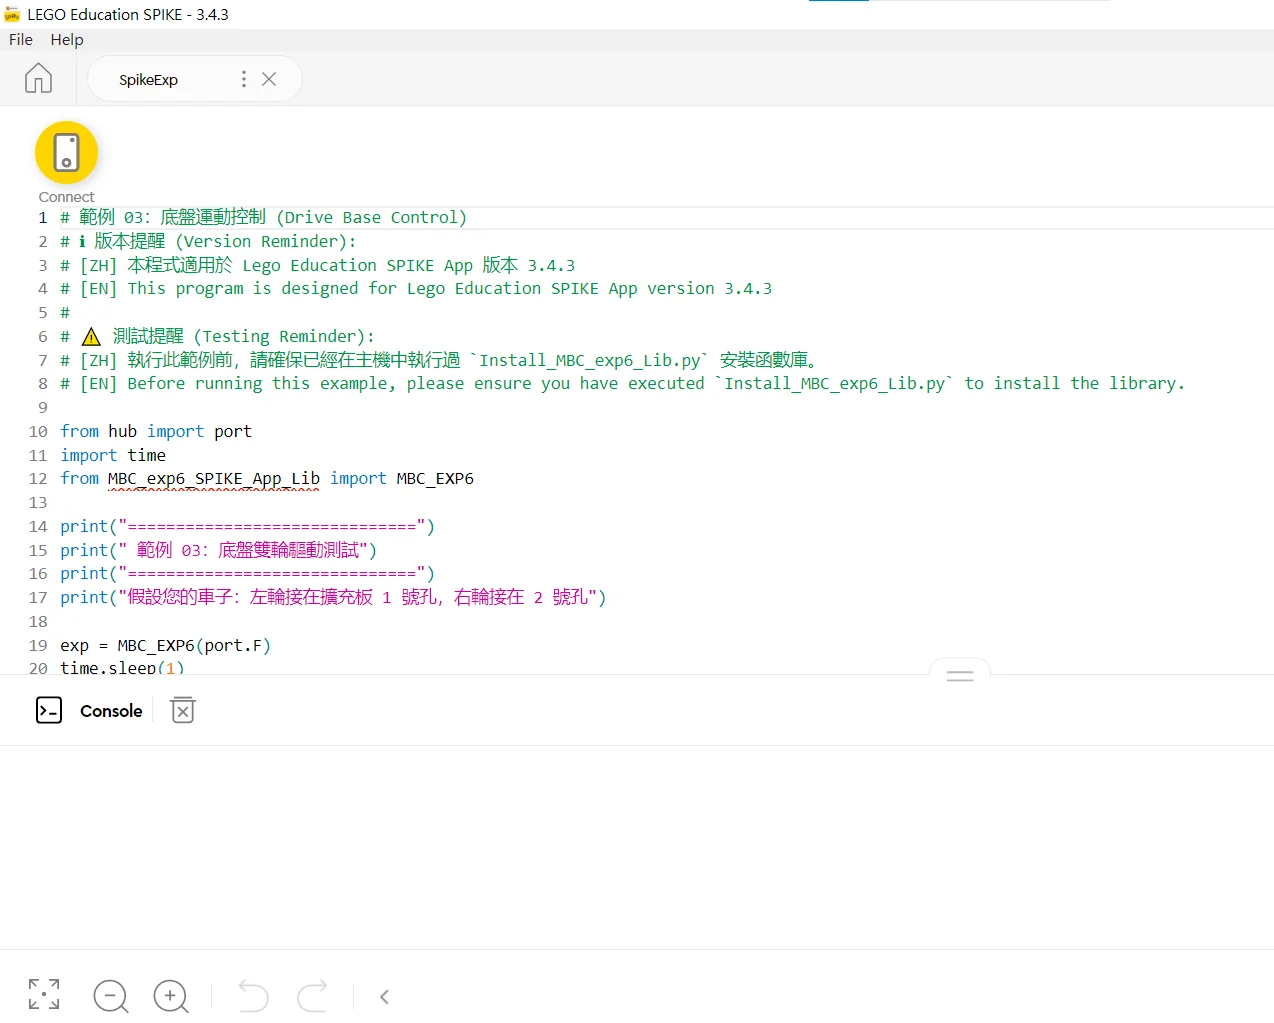
How to install the library? Before running any expansion board programs, please make sure to copy and paste the
Install_MBC_exp6_Lib.pycode from the downloaded package into your SPIKE App and run it once. This installation script will automatically write the core library into the SPIKE hub's internal firmware. After successful installation, you can directly usefrom MBC_exp6_SPIKE_App_Lib import MBC_EXP6in any new project without having to copy and paste a long string of source code!
Download Official App Library
Contains the installation script, uninstallation script, and basic example files for the official SPIKE App.
Download .zip PackageIncludes: Install_MBC_exp6_Lib.py, Uninstall_MBC_exp6_Lib.py, 9 example programs (01–09) and the PDF manual EXP6_Library_Manual.pdf
Uninstall Library
If you no longer need the library or need to free up the hub's internal storage space, please run the uninstallation script.
Run Uninstall_MBC_exp6_Lib.py from the downloaded package in the SPIKE App to cleanly remove the library from the firmware.
1. Quick Start (Initialization)
To use the EXP6 expander, you must first import the library and tell it which port on the SPIKE hub the expander is connected to.
import hub
# Import the installed core object
from MBC_exp6_SPIKE_App_Lib import MBC_EXP6

# Connect to the expander (assuming the expander is plugged into port A)
# The second parameter True indicates multitask mode (heartbeat is sent automatically in the background)
exp6 = MBC_EXP6(hub.port.A, True)
2. Motor Control
Control SPIKE motors connected to the EXP6 expander. Supports setting RPM, PID closed-loop control, braking, PID parameter tuning, and dual motor synchronized drive.
Start Motor (Power)
Uses pure electrical power (open-loop PWM) to drive the motor. No speed compensation, but provides the most direct and fastest response.
# Make the motor connected to port 5 of the expander rotate at 50% power
exp6.motor_power(5, 50)
Closed-loop Rotation (Run)
Uses PID closed-loop control. The expander automatically adjusts power based on load to ensure the RPM stays at the set value.
# Make the motor on port 1 of the expander maintain a steady speed of 30
exp6.motor_run(1, 30)
Precise Angle Control
Set the motor to rotate a specific relative angle, or move to a specific absolute angle. The built-in PID control and angle accumulator ensure precise movement.
degrees: Relative angle to move (e.g., 360 is one full rotation forward).angle: Absolute angle to move to (0~359, automatically finds the shortest path).stop: Number indicating the behavior after reaching the target:1Coast,2Brake,3Hold,4Continue.
import time

# Make motor on port 1 rotate 360 degrees (relative angle) at speed 30, then Hold (3)
exp6.motor_run_degrees(1, 30, 360, 3)

# Angle commands return immediately and do not wait for the move to finish.
# A new angle command sent while the motor is still turning is dropped, so wait first.
time.sleep(1.5)

# Make motor on port 1 rotate to 90 degrees (absolute angle) at speed 30, then Hold (3)
exp6.motor_track_target(1, 30, 90, 3)
Stop and Brake
exp6.motor_stop(1, 1)  # Motor power off, coast to a stop
exp6.motor_stop(1, 3)  # Hard brake, lock current position
exp6.stop_all(1)       # Emergency stop! Makes all motors on the expander coast to a stop
Dual Motor Sync Control (Drive)
Simultaneously and precisely controls two motors, perfect for building wheeled chassis robots (e.g., line-following cars).
# Make motors on port 1 and port 2 move forward simultaneously at speed 50 and 40
exp6.drive(1, 2, 50, 40)

# Stop dual motors (coast to a stop)
exp6.drive_stop(1, 2, 1)
3. Sensor Reading
Read sensor data and motor status from the expander. The expander automatically determines the sensor type and returns the corresponding values.
Motor Angle and Speed
# Reset the angle of motor on port 1 to zero
exp6.reset_angle(1)

# Read accumulated angle, absolute angle, and speed (deg/s)
angle = exp6.get_motor_angle(1)
abs_angle = exp6.get_motor_abs_angle(1)
speed = exp6.get_motor_speed(1)

# Reverse the direction of the motor on port 1 (for mirrored mounting)
exp6.set_motor_inverted(1, True)
Color Sensor
# Read color code (0~10, standard LEGO colors: 0 black, 10 white)
color_code = exp6.get_color_color(3)

# Read light reflection value (0~100, suitable for line following)
reflection = exp6.get_color_reflection(3)

# Read RGB, returns (R, G, B), range 0~100
rgb = exp6.get_color_rgb(3)

# Read HSV (hue 0~360, saturation, value)
h, s, v = exp6.get_color_hsv(3)
Ultrasonic and Force Sensors
# Read ultrasonic distance (unit: millimeters mm)
dist = exp6.get_ultrasonic_distance(3)

# Read touch sensor press force (0~100)
force = exp6.get_touch_force(4)
System State & Raw
# Return device ID: 0=None, 1=Force, 3=Color, 4=Ultrasonic, 5=Motor
dev_id = exp6.get_device_id(1)

# Return current battery voltage (e.g., 8.25 V)
volts = exp6.get_voltage()

# Get the raw unparsed data of port 1 (Raw Data, uint16)
raw_data = exp6.get_port_raw(1)
4. Stopping Safely (No Watchdog in the Official App)
When used with the official SPIKE App, the expander has no watchdog: if the program crashes or the hub disconnects, the motors keep running the last command. So always end your program with exp6.stop_all(1). Just use time.sleep() to wait — no heartbeat commands are needed. (Only the Pybricks environment has a watchdog: after about 0.5 s without a signal, the motors coast to a stop.)
import time

# Official App: just use time.sleep to wait
time.sleep(3)  # seconds

# Always stop all motors before the program ends (1 = coast)
exp6.stop_all(1)