
Pathfinder 16-Way (Line16) × MINDSTORMS EV3
Using the Pathfinder 16-Way (Line16) with MINDSTORMS EV3: check the edition and the wiring, then pick your software; its page covers that software only.
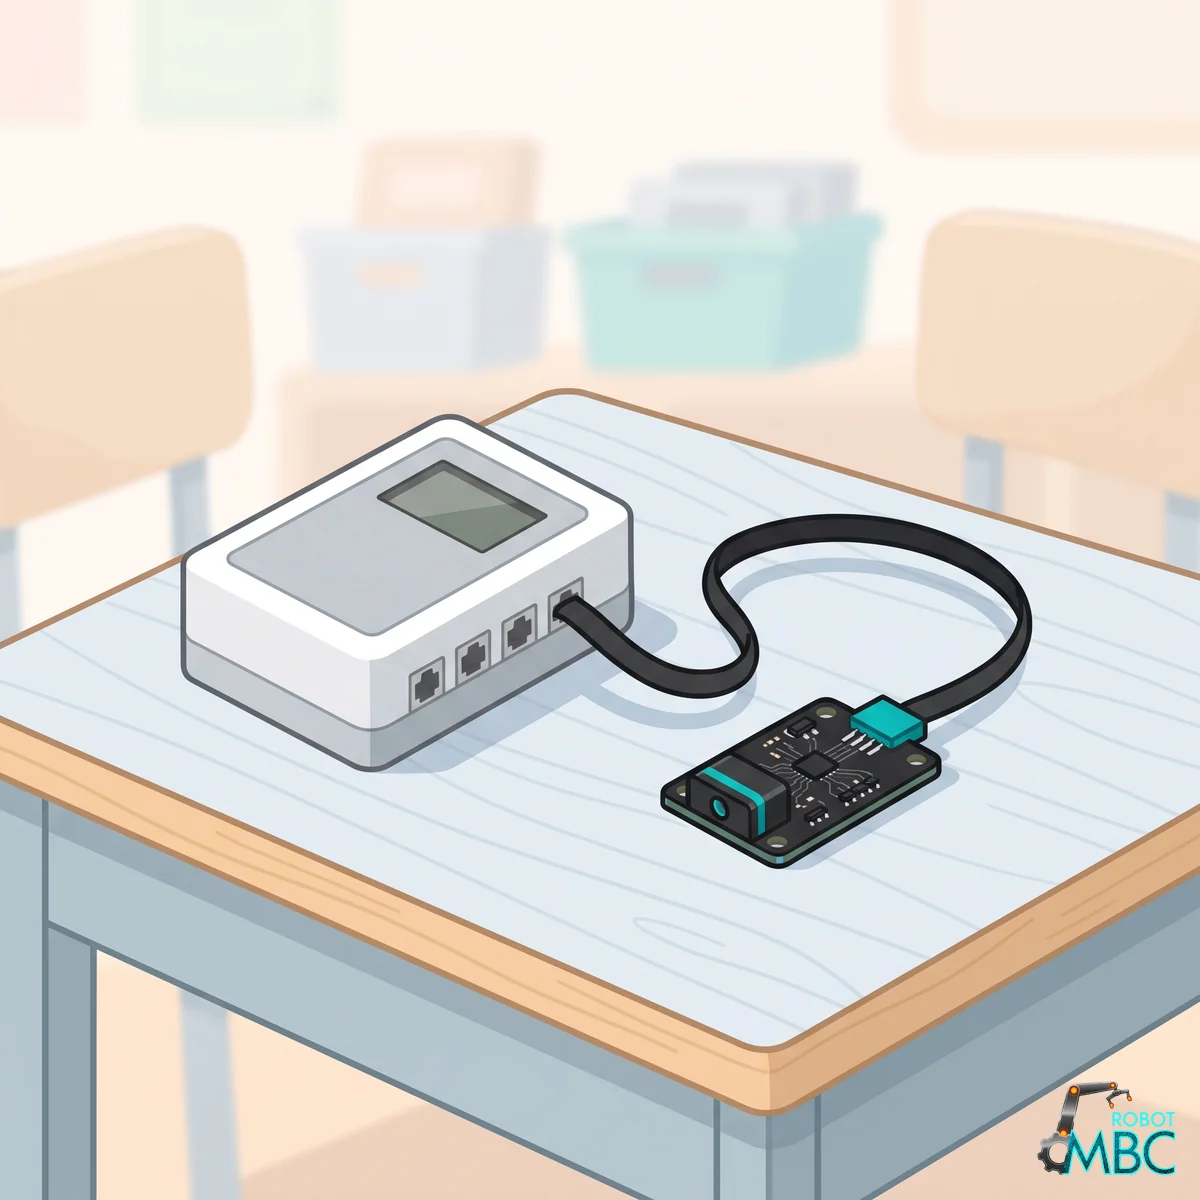
Which edition
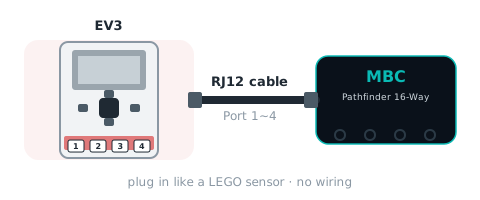
Get the EV3 edition (RJ12 plug) and plug it into sensor port 1~4. Power the EV3 on first, then plug the sensor in, pushing the plug all the way in, in one go; replug if the numbers freeze or the EV3 detects the wrong device.
Tip
Tested on the EV3 (2026-11-03): the stock EV3 firmware (EV3-G / EV3 Classroom / clev3r) and Pybricks v4 pass; ev3dev / EV3 MicroPython v2 are supported (same mode table as the LEGO infrared sensor). The EV3 detects it as an infrared sensor (type 33).
- Switching sensor modes on the EV3 takes about 1.1 s (the same for the LEGO infrared sensor): read one mode only and do not switch modes inside a loop.
- With no line in view, mode 0 stays at the side where the line was last seen (negative = left, positive = right), not 0.
- Mode 3 (bitmap): channel 16 (CH15) reads as a negative number when it is on the line: apply
& 0xFFFFbefore checking the bits. - The EV3 edition cannot take commands from the hub (stock firmware, Pybricks and ev3dev cannot send E0~E9; the format is exactly the same as the LEGO infrared sensor). Instead: hold the board button while powering up = white-line mode (not pressed = black line); press the calibration button while running = 5-second dynamic calibration. Left/right swap and thresholds are not available on the EV3 edition; use the SPIKE or I2C edition for those.
Wiring
② Pick your software
 EV3-GCommon in school labs and WRO teams
 EV3 ClassroomSame blocks as SPIKE; easy for first-time EV3 users
 PybricksPython code with access to every mode
 clev3rBASIC text code for existing clev3r users
Interactive tutorialEV3
No hub needed: click through it in your browser. Pick a function on the left, watch the code or blocks build up on the right, and drag the simulated sensor to see the values.
Pybricks / EV3 MicroPythonclev3rEV3 ClassroomEV3-G (LEGO software)